
Page History
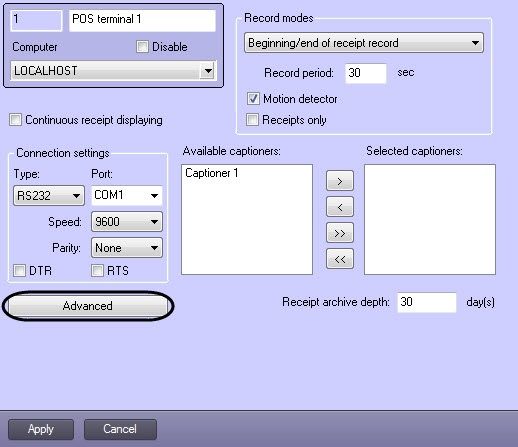
To start using a POS - terminal, select its type and set up the connection. To select the type of POS - terminal and set the connection parameters, do the following:
- Click the Advanced button.
In the dialog box that opens, select the POS - terminal in the Supported POS terminals drop-down list and click OK.
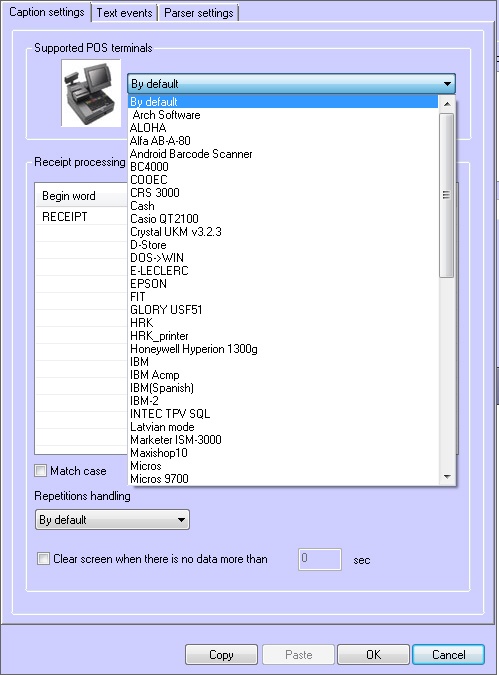
Info title Note Parser xml_titles.txt configuration is needed when choosing the XML protocol from the Supported POS terminals drop-down list (see Parser types, and Description of XML protocol packages for interaction with POS-Intellect system).
Specify the parameters in the Connection settings group (1).
Info title Note. If a Serial-USB (Serial-Ethernet) adapter is used to connect the POS - terminal, select RS232 in the Type field (see the Auxiliary communication devices section). 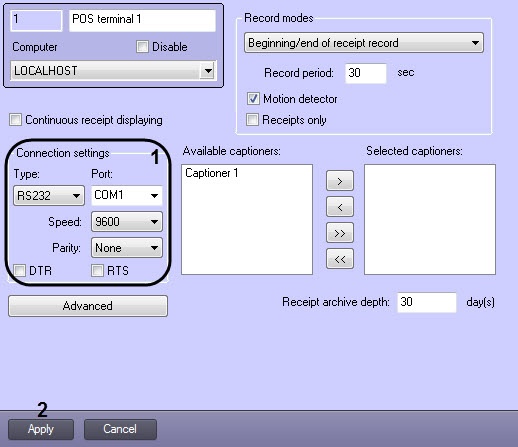
Info title Note. To test the connection, use the HyperTerminal utility included in Windows (see the Testing the connection between the POS-server and the POS-terminal section). - Click the Apply button (2).
The type of POS - terminal and its connection parameters are now set.
| Note | ||
|---|---|---|
| ||
| To enable re-connection to the POS-server in case of connection failure (including regular connection failures) set the line EnablePing parameter to 1 in the Windows registry (for more details, refer to the Registry keys reference guide). |
| Note | ||
|---|---|---|
| ||
If POS terminal failure occurred while connecting it to the POS-Intellect, disable the COM port control by setting the SetFlowControlNone parameter to 0 in the Windows registry (for more details, refer to the Registry keys reference guide). |
| Info | ||
|---|---|---|
| ||
| Handling the Windows registry is described in the Intellect Software Package: The Administrator’s Guide document. |
...