Go to documentation repository
Page History
General information
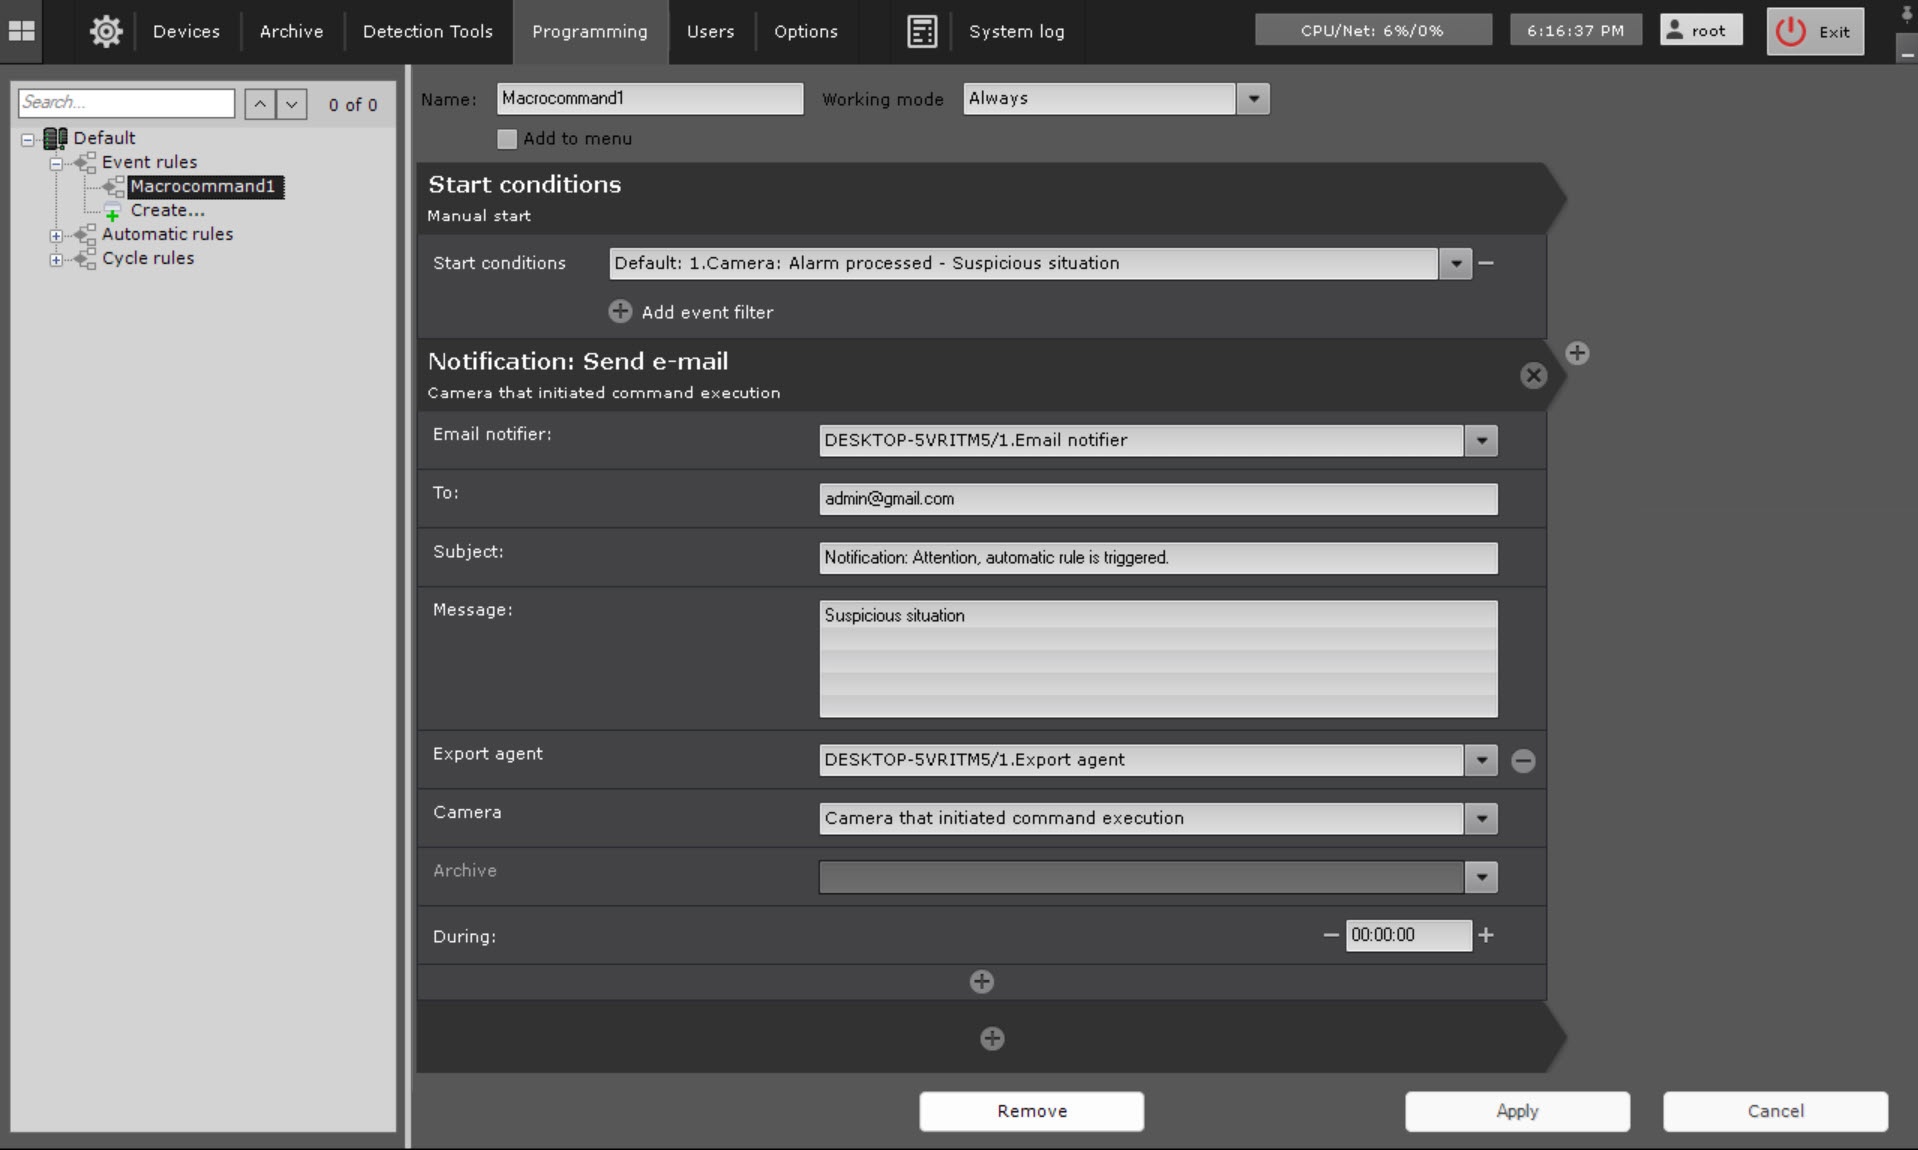
This action sends emails to the specified addresses. Exported You can attach exported videos or frames can be attached. You must configure the conditions to start a macro beforehand (see to an email.
Configuring an action
To configure this action, do the following:
- Go to the Programming tab.
- In the Event rules or Cycle rules list, click Create... (see Configuring macros).
- Select a start condition that triggers a macro (see Configuring start conditions).
...
- Click the button below start conditions.
- From the drop-down list, select Notification: Send e-mail.
- Specify the following parameters:
- notifier—select the system object for the email
notifications - notification when a macro starts (
see The - see Email notifier
object- ).
- ).
- To
(2)—enter - —enter the email address to which you want to send the message.
Info title Note
Multiple email addresses can be specified. Separate them with comma (,) or semicolon (;)- You can enter several email addresses separated by a comma or semicolon.
- Notifications
will - are also
be - sent to the email addresses you specified when configuring
the - the Email notifier object (see
The - object
- ).
- Subject
(3)—the subject - —subject of the email notification that will be sent when a macro starts.
- Message
(4)- —enter the text that must be sent in the email notification when a macro starts.
Info title Note You can use templates in the message (see Text templates in the action settings).
- In the Export agent parameter, select an export agent.
- In the Camera parameter, select a camera or group of cameras.
- If necessary, you can attach exported video or a frame to your message.
Click the button (5) to - —enter the text that must be sent in the email notification when a macro starts.
- To do this, you must add and configure additional parameters
. Configuration - (you can add them by clicking the button). Configuration of these parameters is identical to configuration of export (see
Starting - Start export).
Info title Note If
the - Start export).
you don't specify the During parameter
is not specified,
the a frame is sent. You can
set specify the format of video and frame export in the settings of the Export agent
settings (
see see Configuring Export agent).
If the start of - Set the All in one email checkbox if a macro is initiated by a group of cameras (
see - ,
- and you
can - want to send the frames from all cameras in the group in a single email message.
To do this, set the All in one email checkbox (6). If this checkbox is not set- If you don't set the checkbox, there is a separate email for each camera in the group.
- Click the Apply button.
Configuration of the Notification: Send e-mail action is complete.
Overview
Content Tools


