
Go to documentation repository


Page History
...
| Button | Function |
|---|---|
| Enable/disable the display of unavailable devices |
| Enable/disable the top view |
| Go to the layout with a camera |
| Go to immersion mode |
| Enable/disable 3D display of icons |
| Enable/disable the display of device names and IDs on the map |
| Enable/disable the vibration of the camera icon when an alarm occurs |
| Change the transparency of the video image. At the far left position of the slider, the video image isn't visible on the map; at the far right position, the video image isn't transparent |



Change the icon size
...
- Move the camera icon
 on the map to a place corresponding to the actual location of the device in the protected territory.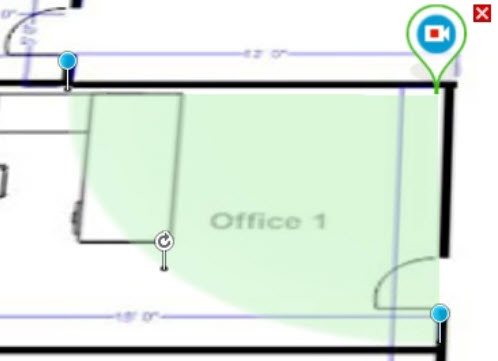
- Move the camera's field of view to the required direction using the
 button.
 - Use the anchor points
 to change the camera's field of view on the map according to the actual situation in the protected territory.
 - Right-click the camera's field of view to display it.
- In the menu that opens, select Show video.
Info title Note You can configure the Show video/Hide video item outside of the layout/map edit mode, and the setting remains until you restart the client.
- Configure video image area:
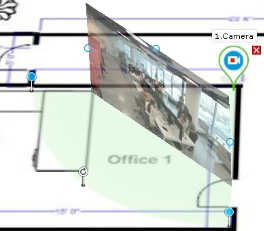
Note title Attention! - To display a video image area when you use a fisheye camera, select Ceiling in the Camera position setting (see Configuring fisheye cameras) and set the camera's field of view as a circle. Then the video image will be displayed directly within the specified area.
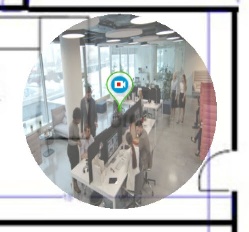
- For cameras with an Immervision lens, select PTZ in the View type setting (see Configuring fisheye cameras). If a fisheye camera has a different field of view, the video image display is unavailable when the camera is positioned on the ceiling.
- Use the dots
 on the video image to adjust the size of the video image area. To do this, left-click the dot and drag it to the required positionplace.
 - Use a dot to change the tilt angle of the area.
Info title Note When you work with the map, you can switch the video display mode to "flat" (see Personalization of the map).
- To display a video image area when you use a fisheye camera, select Ceiling in the Camera position setting (see Configuring fisheye cameras) and set the camera's field of view as a circle. Then the video image will be displayed directly within the specified area.
Configuration The configuration of a camera in a standard map view mode is complete.
Immersion mode
Immersion mode is used to combine a video from a camera with a map. In immersion mode, the video from the selected camera is displayed over the map.
- If you created transitions between a video and a map, a camera angle is selected so that the objects observed in the video and the map coincide.
- If you don't create transitions, the map is displayed in such a way that the video is located within the camera's field of view specified on the map. The field of view is directed upward.
You can switch to immersion mode in two ways:
- Click the Move to immersion mode
 button in the upper right corner of the surveillance window. For the button to be displayed, in the user interface settings (see User Interface), select Inside in the Location of the control buttons in the surveillance window setting.
 - Double-click the left mouse button on the camera icon, the camera's field of view, or the video display area on the map. This method is applicable if the
 button isn't clicked (see Personalization of the map).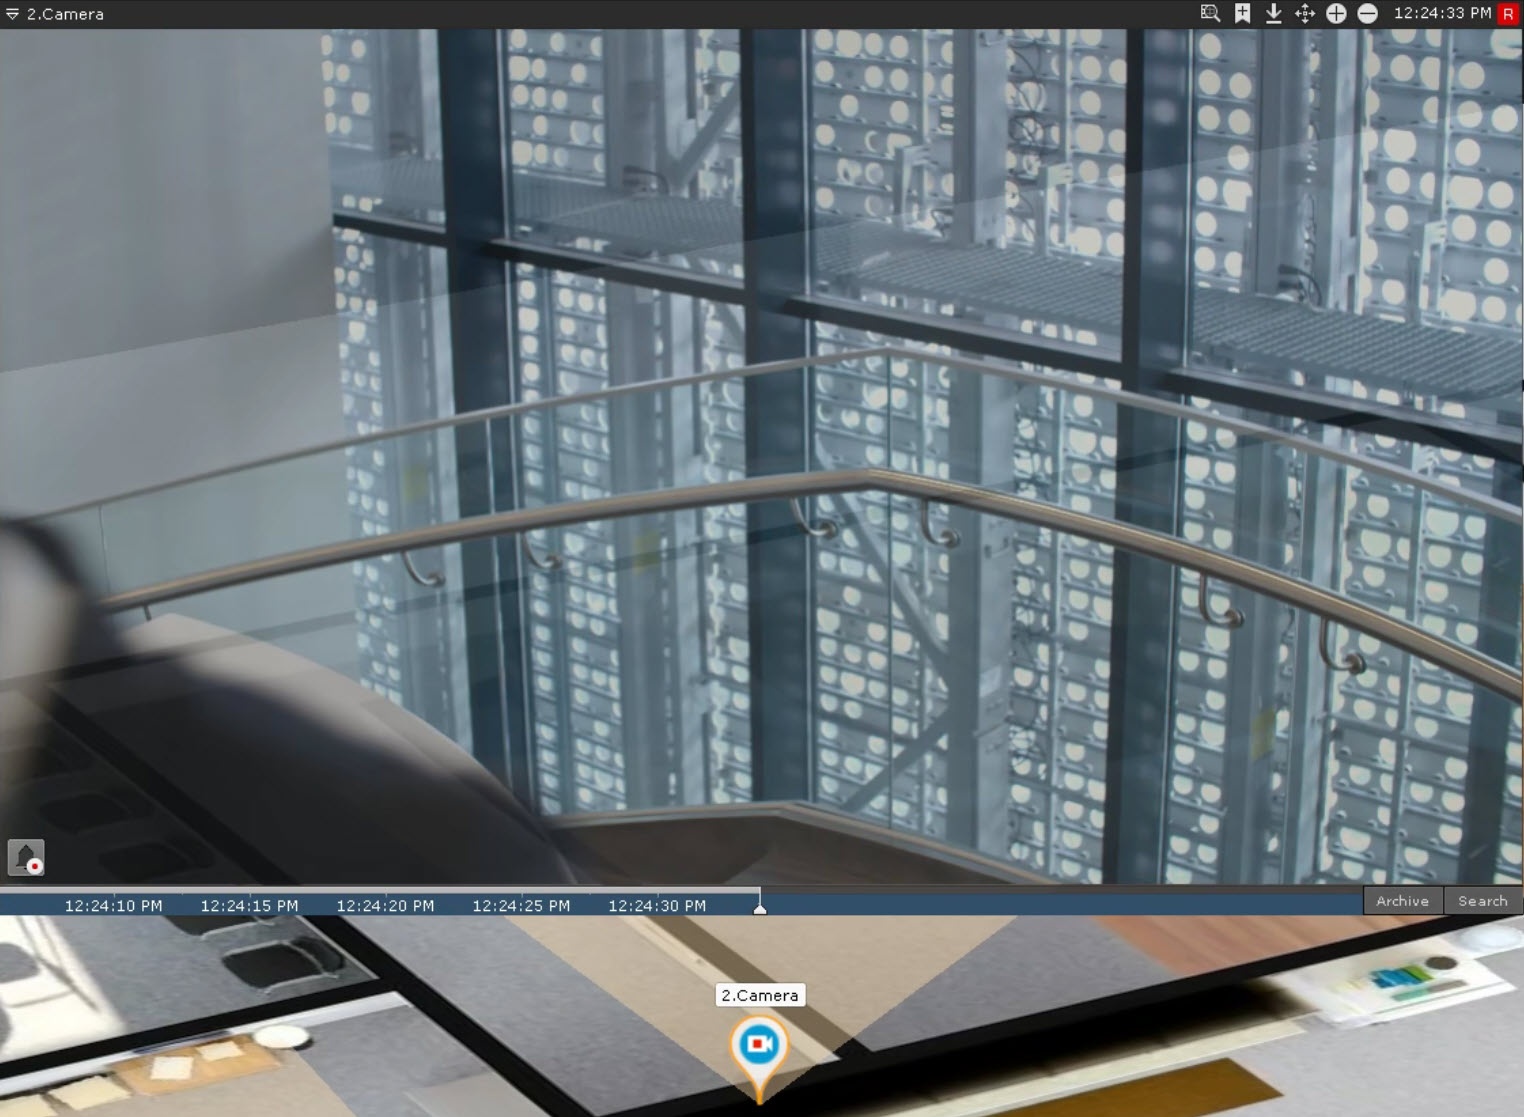
In immersion mode, you can only view video from one camera at a time.
To select a different camera, do one of the following:
- Double-click the left mouse button on the camera icon, the camera's field of view, or the video display area on the map.
- Exit immersion mode and select the required camera on the map.
To exit immersion mode, do one of the following:
- Click the Exit immersion mode
 button.
 - Zoom out on the surveillance window by clicking the Zoom out the tile
 button.
 - Click an area of the map that doesn't contain the camera's field of view.
| Info | ||
|---|---|---|
| ||
|
Overview
Content Tools