
Page History
You can share a list with other AxxonNet users synchronize the created list of faces with the domain.
To do it, follow the steps below:
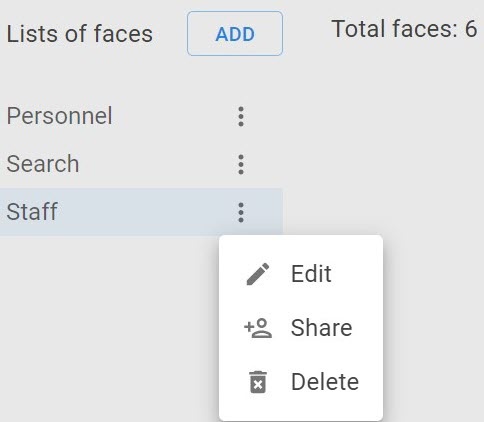
- Select a list and click the
 button.
 - Click the Share button.
- Enter the email address of the user you want to share the list with.

- Select an access level for this user: view only, view and add images, or full access.
- Click the Share button. The specified user now has access to the list.
synchronize the created list of faces with the domain, do the following:
- Configure the Face Detection (see Category: Face) with the Check in lists parameter enabled (see Checking in lists of faces).
- On the Faces tab, click the button next to the required list and select Share.

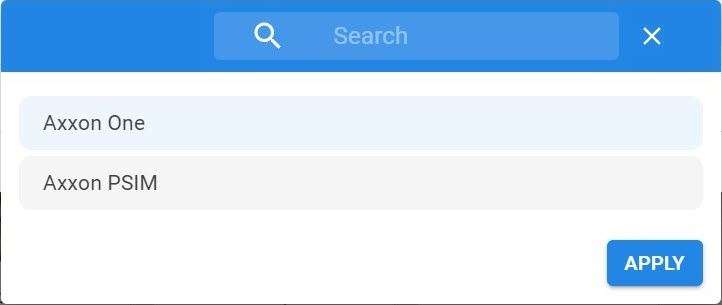
- In the window that opens, click the ADD button.
- Select a domain or a group of domains with which you want to synchronize a list of faces.
- Click the APPLY button.
A list of faces is synchronized with the selected domain and is available to all users in the domain.

To cancel synchronization with a list of facesTo deny access to the list, do the following:
- Deselect Set the Shared checkbox next to the domain.
- Click Apply.the
 button in the right top corner.
 - In the Are you sure you want to delete this record? window, click the YES button.
A list of faces for the selected domain is unavailable. The selected user will lose access to the list.
Overview
Content Tools