You can create a cloud archive through the interface of archive creation. To do this, do the following:

  1. In the branch of the Server object corresponding to the computer on which you need to organize an archive, click the Create link.

  2. Select the Cloud archive type.

  3. Select an archive from the suggested solutions.
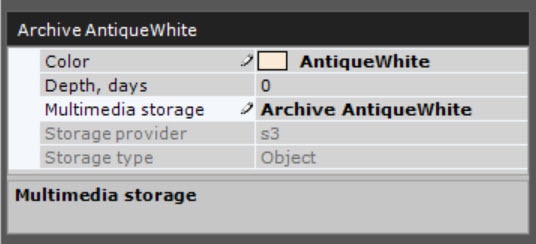
  4. Specify the name and color of the archive (1).
  5. Depending on the selected solution, you must fill in the corresponding fields of the archive volume settings. For example, for an archive volume based on the Wasabi solution, you must fill in the following fields:

    1. Specify the region where the corresponding volume is located, set at https://console.wasabisys.com/#/file_manager (2).
    2. Specify the volume bucket name preset by the user at https://console.wasabisys.com/#/file_manager (3).
    3. Specify the access key id that must be created beforehand at https://console.wasabisys.com/#/access_keys (4).
    4. Specify the password of the access key (available after the access key is created) (5),
    5. Specify the name of the folder created inside the volume (the Folder object in Bucket) (6).
    6. Specify the connection protocol: HTTP or HTTPS (7).
    7. Specify the archive size in GB (8).

      Configuring the archive fields for different solutions is shown in the table in Creating an archive volume.


  6. To test the connection of the archive volume, click the Test connection button (9).
  7. Click the Apply button.

As a result, a cloud archive and a volume will be created based on the selected solution.


Manage archives using gRPC API (ConfigurationService)