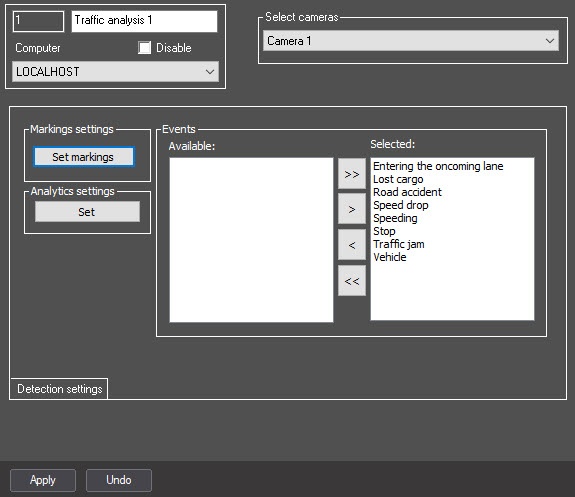
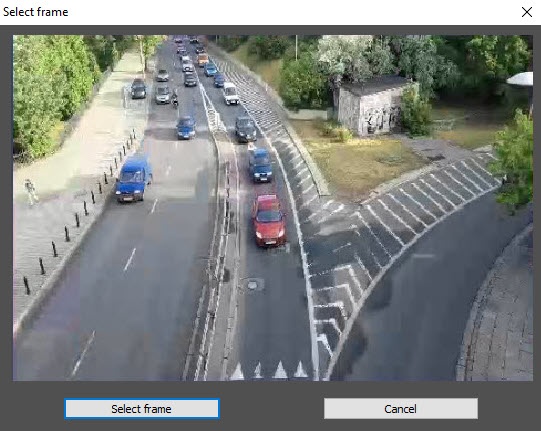
A utility for editing road markings opens.
- Select Lines → Draw new line. Select Clear lines to delete a line.
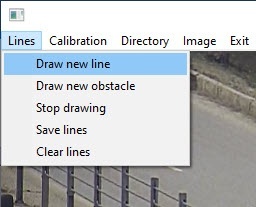
- Mark the borders of the roadway.
- Repeat steps 4a and 4b as many times as there are lanes on the roadway.

- Select Lines → Draw new obstacle.
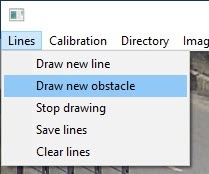
- Mark the borders of stationary objects.
- Repeat steps 5a and 5b as many times as there are stationary objects in the frame.
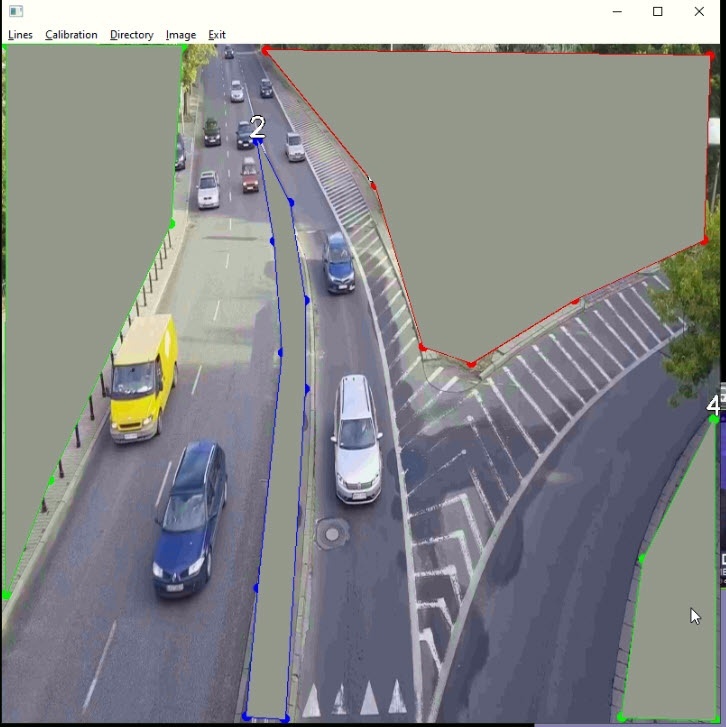
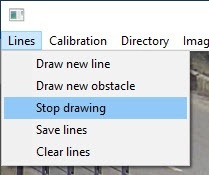
- Select Lines → Stop drawing.
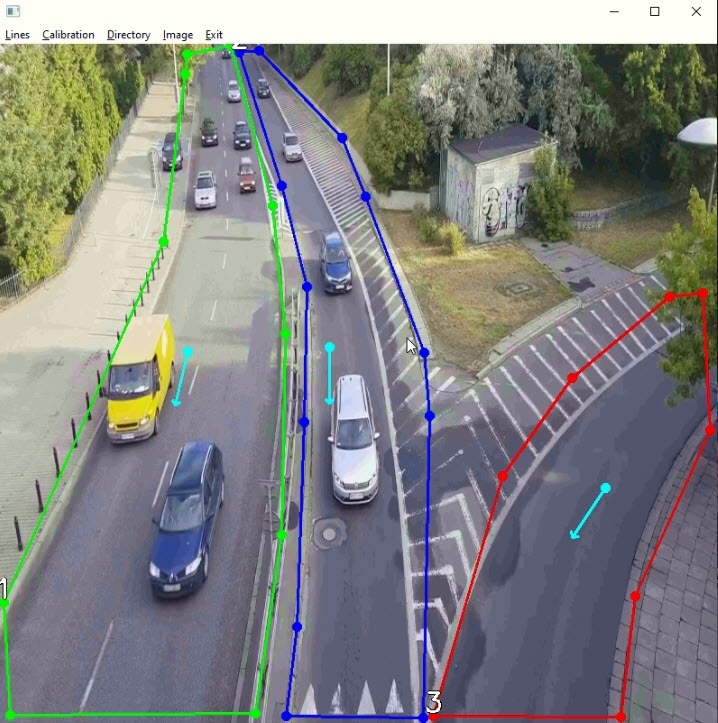
- Point the arrows that appear on the lanes in the direction of traffic. This is required to generate an event of entering an oncoming lane.
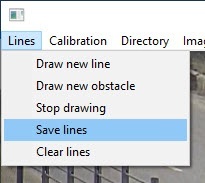
- Specify pixels to correspond to meters:
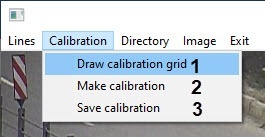
- Select Calibration → Draw calibration grid (1) to specify the dimensions of a calibration grid;
- Double-click a dimension. A window for editing the corresponding dimension of a calibration grid opens: Height or Width;
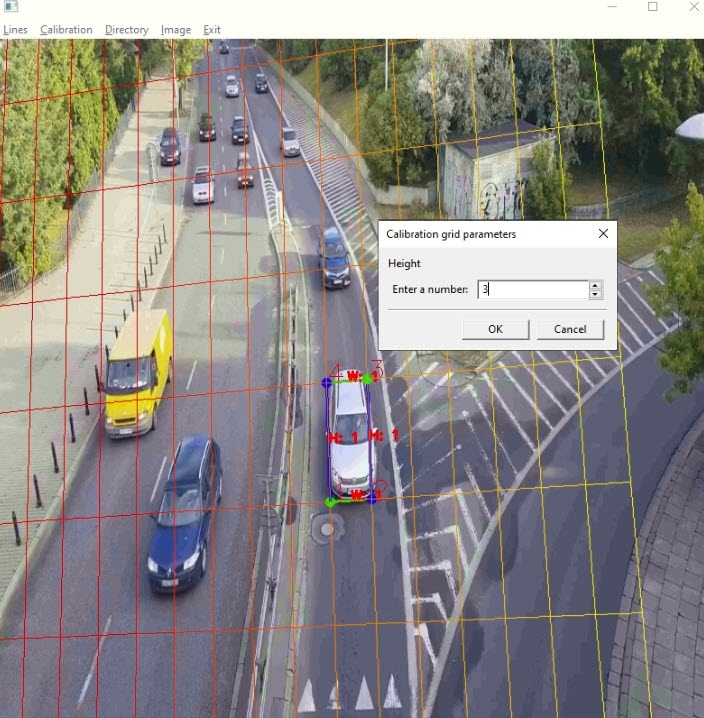
- In the Enter a number field, specify a value in meters;
- Press the Enter key;
- Repeat steps 8aii-8aiv for a second dimension of a calibration grid.
- Select Calibration → Draw calibration grid (1) to specify the dimensions of a calibration grid;
- Select Calibration → Make calibration to calibrate the dimensions according to the calibration grid specified in step 8a (2);
- Select Calibration → Save calibration to save the specified calibration to a JSON file next to an EXE file (3).
