Go to documentation repository
Previous page Next page
To create the Time and Attendance report:
Note
You can use templates when you create a report.
To add a new template, click Report templates → New template and fill in the Name and Description fields. The template will use the selected parameters of the current report.
Templates work the same way as templates in the scheduler and can be used interchangeably.
When you create a response using a template, click Report templates at the top of the page and select the required template from the list of saved templates (the required template is highlighted). As a result, the parameters of the current report are updated according to the selected template.
Note
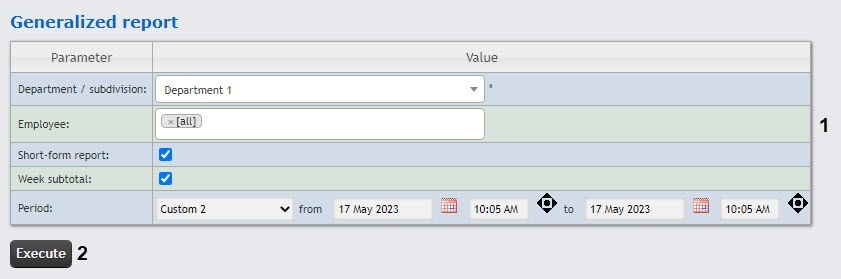
The figure illustrates the parameters of the Generalized report.
The set of parameters depends on the type of the Time and Attendance report. The description of parameters used for creating reports is given in the table.
Parameter | Description | Used in reports |
|---|---|---|
| Used to select the area the information on which you want to display in the report |
|
| Used to set the period for which you want to display the report | Used in all reports |
| When you set the checkbox, some report fields are hidden |
|
| When you set the checkbox, the Comment column is displayed in the report. The column is used to manually add a comment to the printed report |
|
| When you set the checkbox, each department is displayed on a separate sheet |
|
| Used to select the working schedule of employees the information on which you want to display in the report. You can select one of the available schedules or all working schedules at once |
|
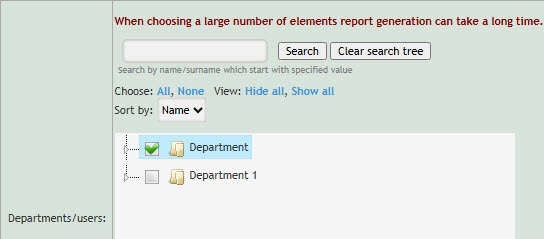
| Used to select a department or an employee whose information you want to display in the report. The structure of the departments in the reports corresponds to the structure of the departments in the Time and Attendance module. You can select all departments at once, or separately parent and child departments, as well as several employees of a department |
|
| Used to select the department or subdivision whose information you want to display in the report. You can select only a department/subdivision. You can also use the search for the required department/subdivision by substring |
|
| Used to select an employee whose information you want to display in the report. If there are more than 100 employees, then the entire list is not displayed. To search for an employee, enter at least three first letters of their surname. As a result, employees with matching surnames are displayed in the drop-down list |
|
| When you set the checkbox, only those employees who were not present at their workplace are displayed in the report |
|
| Used to set the exact time (hours, minutes) for which you want to display the report |
|
| When you set the checkbox, the information on the working area only is displayed in the report |
|
| Used to set the time period of employee coming to territory for which you want to display the report |
Note. For the Presence at workplace report to work correctly, you need to configure it (see Setting up the Presence at workplace report and Personal presence-at-workplace report) |
| Used to set the time period of employee leaving territory for which you want to display the report | |
| Used to set the time period of employee presence on territory for which you want to display the report | |
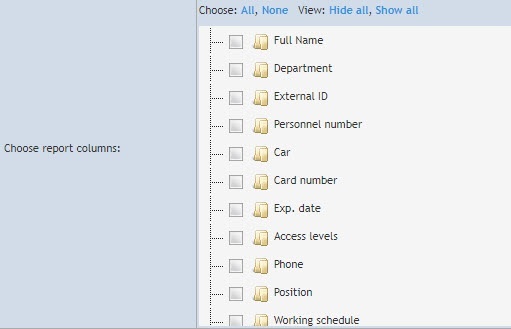
| Used to select the columns of the report | |
| Used to add a filter by which the employees are filtered. Filter availability depends on whether the corresponding parameters are filled in for the employees in the Access Manager module | |
| Used to filter the employees by their personnel number | |
| Used to filter the employees by their name | |
| Used to filter the employees by their surname | |
| Used to filter the employees by their patronymic | |
| Used to filter the employees by their position | |
| Used to sort the data in the report | |
| Used to group the data in the report | |
| Used to select the appearance of the report: Standard or Compact for Presence at workplace report and View 1 or View 2 for Personal presence-at-workplace report |
|
| Used to include in the report the employees who arrived later than the start of the working day |
|
| If an employee left the work region for a time not exceeding the specified time, then this time is counted as spent in the work region |
|
| Used to add an additional filter by the External ID field for counting the number of employees |
|
| Used to select the the alternate view of the report appearance |
|
| Used to add week subtotal to the report |
|
| Used to sort lists of objects for a report by:
|
|
As a result, a report is created and displayed (see View the Time and Attendance report).