
Go to documentation repository
Documentation for Face PSIM 1.0.1.
Previous page
![]()
![]() Next page
Next page
To configure a map, do the following:
- Go to the Map settings tab (1) on the settings panel of the Face recognition and search object.
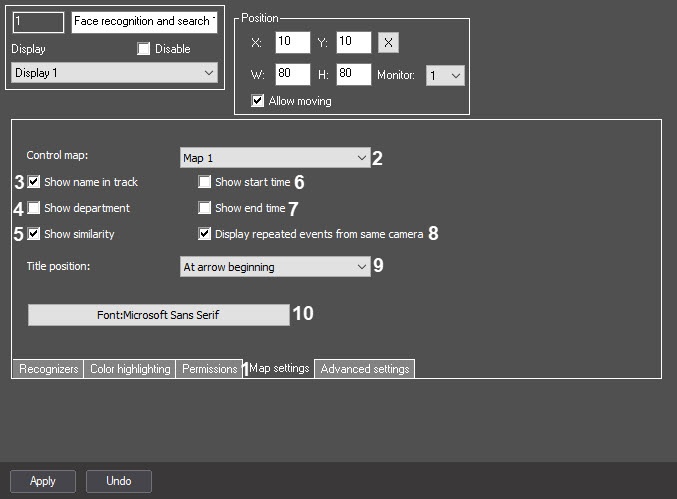
- From the Control map drop-down list, select the necessary Map object (2).
- Set the checkboxes to display additional information on the map near the arrows that show the track of a person, in the case of face recognition:
- Set the Show name in track checkbox to display the name of a person (3).
- Set the Show department checkbox to display the department to which a person belongs (4).
- Set the Show similarity checkbox to display the percentage of similarity between the recognized face and the reference face (5).
- Set the Show start time checkbox to display the start time of a person’s movement in the FOV of one camera (6).
- Set the Show end time checkbox to display the end time of a person’s movement in the FOV of one camera (7).
- Set the Display repeated events from same camera checkbox to disable filtering for events where the same person appears several times in a row in the FOV of the same camera (8). By default, filtering is enabled.
- From the Title position drop-down list (9), select where the information specified in step 3 will be displayed: At arrow beginning, At arrow end, or At arrow middle.
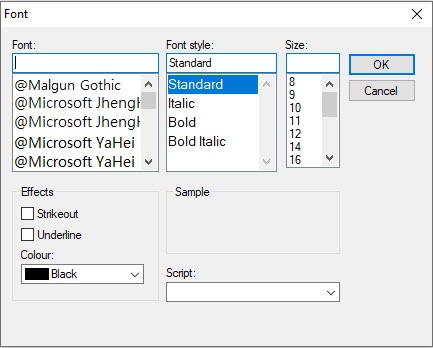
- To edit the font, click the Font button (10). A standard Windows font settings window will open.
- Click the Apply button to save the changes.
After you save the settings, the Show on map item will be enabled in the Face recognition and search interface window (see Displaying the camera that captured the face on the map and Viewing face search results).
Overview
Content Tools