
Go to documentation repository
External event protocol is created with the help of the idb.exe utility.
Attention!
If Time and Attendance module is in use (the module is a part of ACFA PSIM subsystem) use the RemoteProtocolConnector utility to extract event protocol into a separate database—see Axxon PSIM Web Report System. User Guide (the most recent version of this document is available in AxxonSoft documentation repository).
Note
To operate the Report System, which is a part of base Axxon PSIM, the method of extracting the event protocol into a separate database is used. The method is described in this section, i.e. using the idb.exe utility. Configuration of the connection to such protocol DB is required in the Report System, which is a part of base Axxon PSIM (see Connecting to the Events Log (PROTOCOL table)).
It is necessary to create the protocol database beforehand with the help of the MS SQL Server program. Do the following:
- Open Microsoft SQL Server Management Studio Express;
- Select Databases.
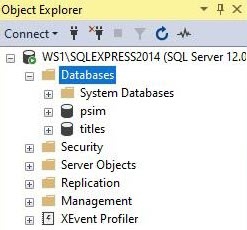
- Right-click and select New Database…
- Specify the protocol database name in the Database name line in the New Database dialog window.
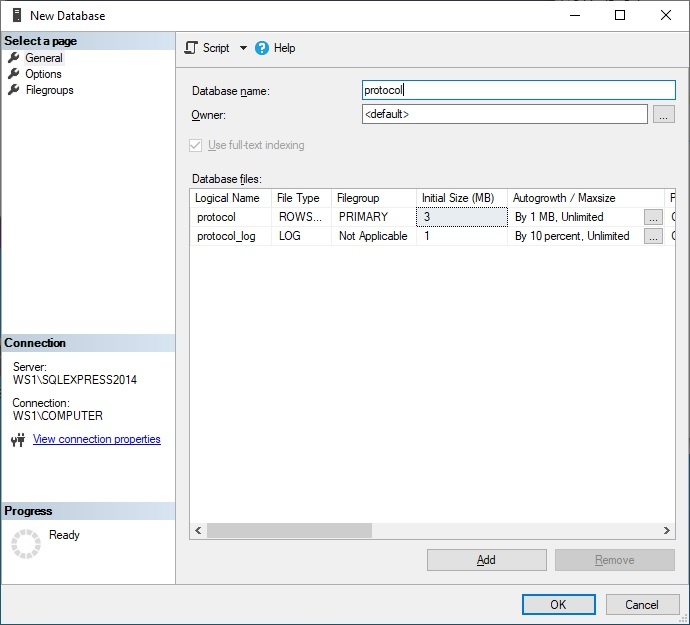
- To create a new protocol database, click the OK button.
- Shut down Microsoft SQL Server Management Studio Express by clicking the Close button in the upper right corner of the dialog window.
As a result, the protocol database is created.
To enable the external event protocol, do the following:
- Run the idb.exe utility (see Running and shutting down the utility).
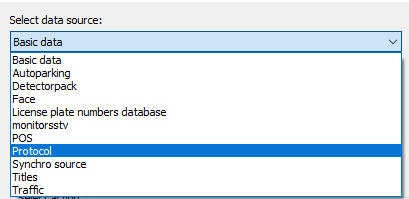
- Select the Protocol database from the Select source database drop-down list.
- To enable the Protocol database, set the Use checkbox.
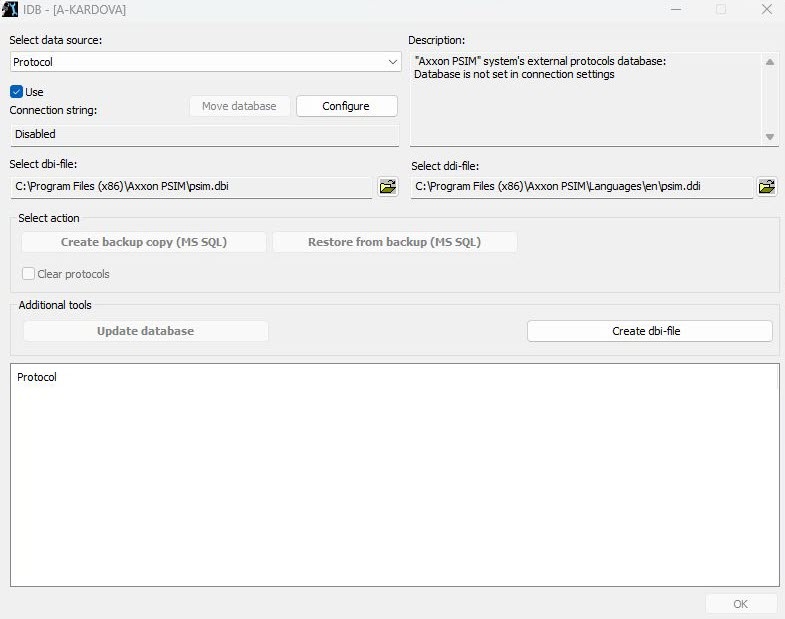
As a result, the Configure button becomes active. - To connect to the Protocol database, click the Configure button. As a result, the Data link properties dialog window appears.
- Go to the Provider tab.
- Select the Microsoft OLE DB Provider for SQL Server from the OLE DB Provider(s) list.
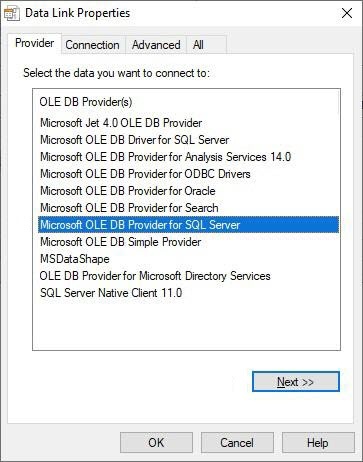
- Click the Next button. You will be automatically redirected to the Connection tab.
- Do the following in the Connection tab:
- Select a server name from the Select or enter a server name drop-down list.
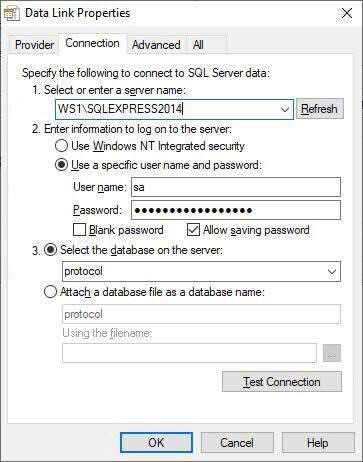
- Specify the user name in the User name field and specify the password in the Password field.
- Set the Allow saving password checkbox.
- Go to the All tab.
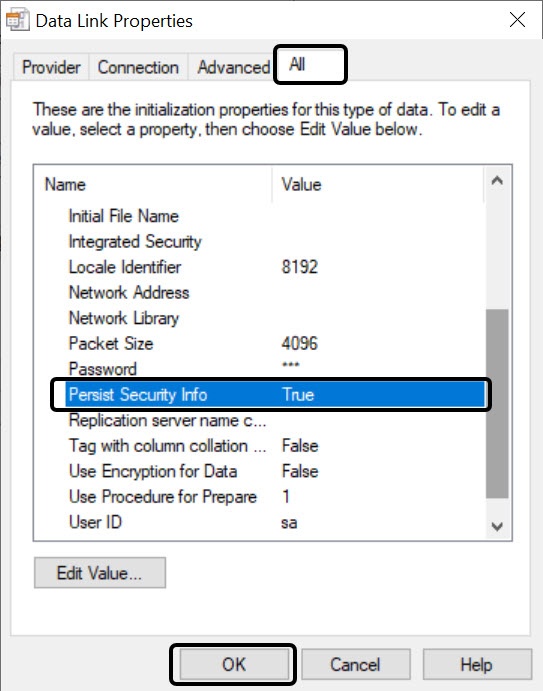
- In the Persist Security Info field, set the True value. This is necessary to correctly save the user password.
Note
Each time you change the server connection parameters, you must set the Persist Security Info field value to True.
Select the protocol database in the Select the database on the server drop-down list.
Note
You must select a database at this step. If you leave the database field blank, after you close the Data Link Properties window, the line "Database is not set in connection settings" appears in the database description window of the IDB.exe utility and the OK button to save changes is inactive.
Click the Test Connection button.
If the connection to MS SQL Server is successfully established, then the Test connection succeeded message appears.
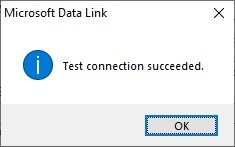
Click the OK button in the message window. The window closes automatically.
- Select a server name from the Select or enter a server name drop-down list.
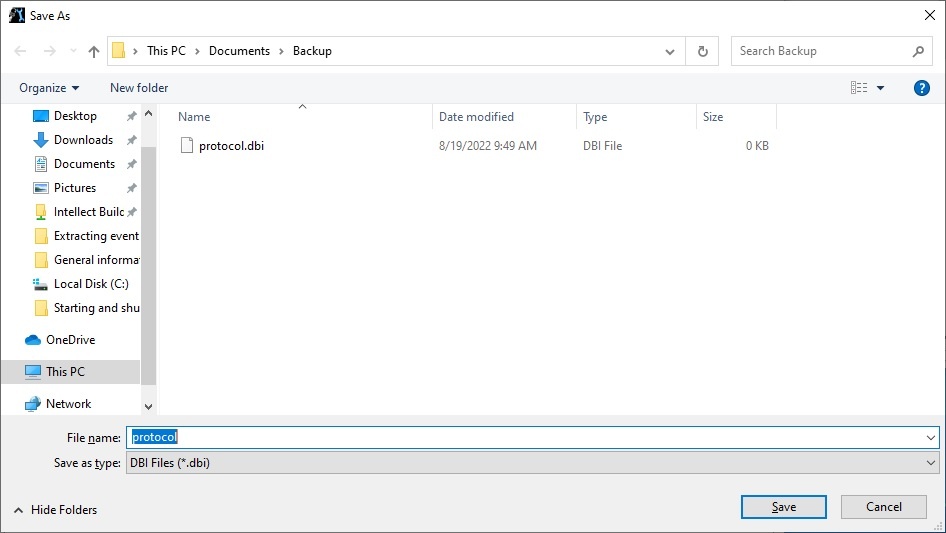
- Select the dbi file. Click the button next to the Select dbi-file information field.
- As a result, the Open dialog window appears.
- Select the database structure file C:\Program Files\Axxon PSIM\protocol.dbi.
- Click the Update database button to update the database in accordance with the psim.dbi file specified in the Select dbi-file field.
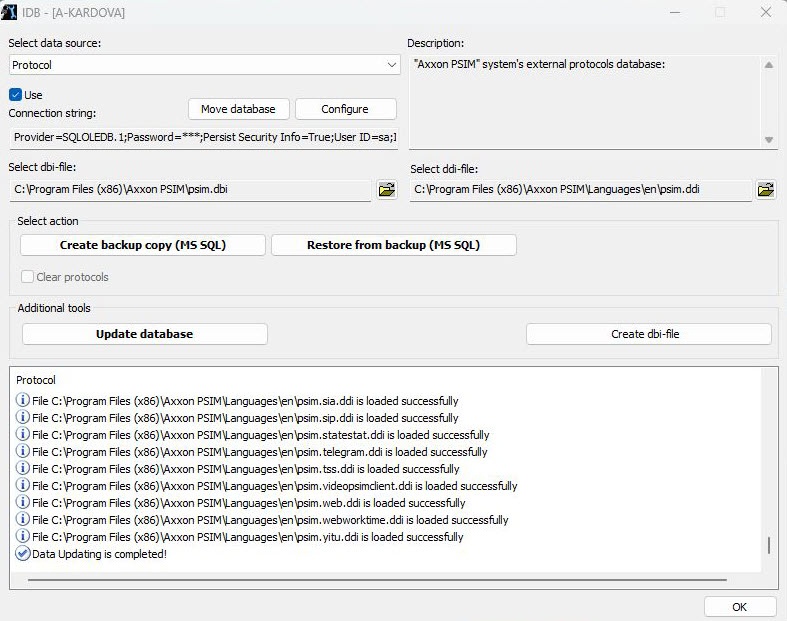
As a result, database update starts. Information about this process is displayed in the Protocol table.
Database is updated, when there is the Database Updating is completed! message in the Protocol table. - To save Axxon PSIM connection parameters to the Protocol database, click the OK button. As a result the dialog window closes automatically.
External event protocol is created and connected.
Overview
Content Tools