
Previous page
![]()
![]() Next page
Next page
Creating a class
Attention!
You can create maximum of 100 classes.
To create a class, do the following:
Open the task on the main page of the service at http://localhost:5000/.
By default, the following classes are created:
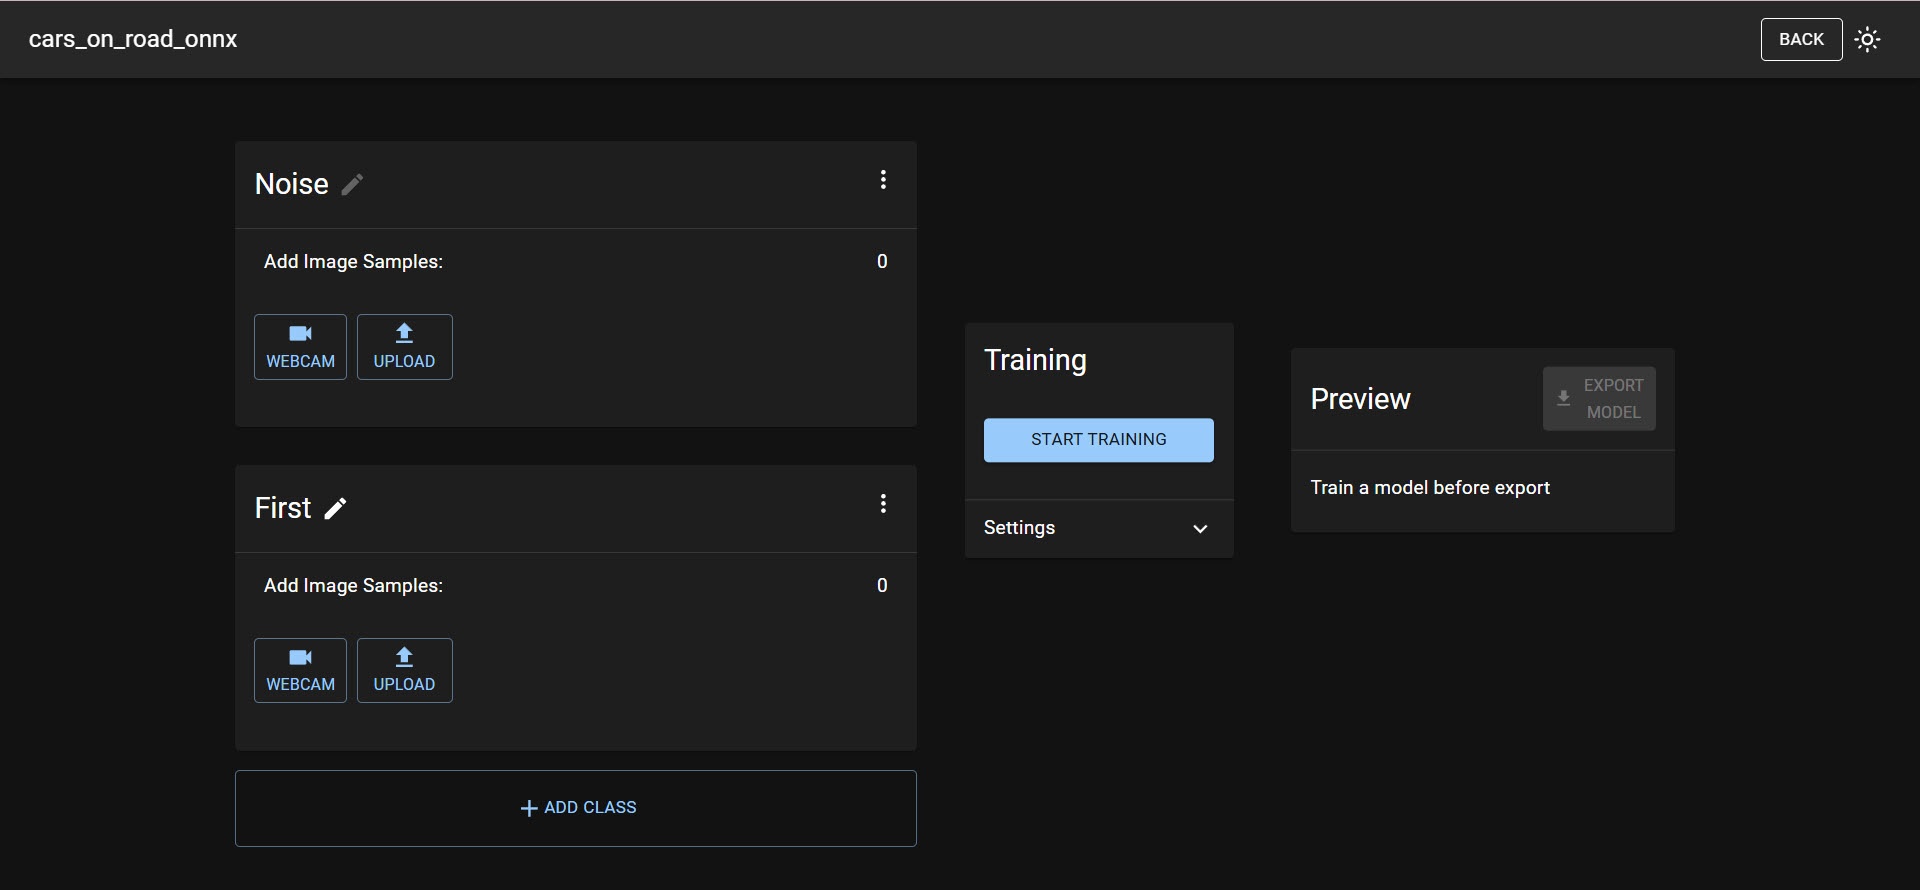
- Noise (0). This class cannot be edited or deleted. It is used for uploading images with a static background or objects that should be ignored by the detector.
- First (4). This class can be renamed or deleted. The First class and any other added classes are used for uploading images with objects that the detector should recognize. Later, the class number (4) needs to be specified in the detector settings to trigger detections when objects from the corresponding classes are detected.
If necessary, click the ADD CLASS button to create a new class.
To change the class name, click the
 button.
To save the class name, click the
 button.
The class is created. Classes in the task are sorted in alphabetical order.
Uploading images to a class
Image requirements:
- For each class, it is necessary to upload full-frame images that display objects belonging only to the required class.
- When you upload images to the Noise class, they should feature a static background or objects that need to be ignored by the detector.
- It is important to consider not only the number of images but also the variety of conditions and object positions represented in them.
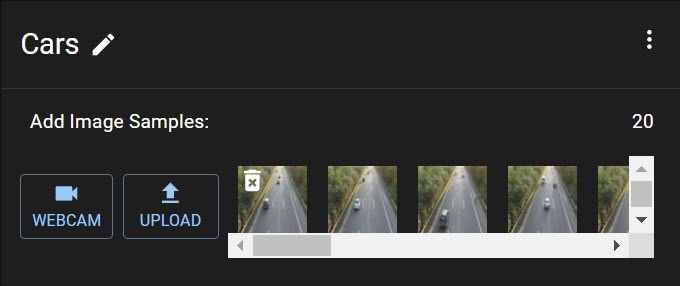
To upload images to a class, click the UPLOAD button and select the images. You can upload up to 5000 images at a time.
The image is uploaded. The number of uploaded images will be displayed in the top-right corner of the class as a counter. Re-uploading frames that have already been added to the class is not allowed.
Uploading frames from a webcam
To upload images (frames) from a webcam to a class, do the following:
- Click the WEBCAM button.
- In the opened window, grant access to the device.
- After selecting this option, a preview from the connected webcam will be displayed, along with a RECORD button to start capturing frames.Additional options are available:
Attention!
The video resolution from the webcam must be at least 224x224 pixels.
- Hold switch (inactive by default). When activated, the frames will only be collected while the RECORD button is held down. Once the button is released, the frame collection will automatically stop. If the switch is inactive, frame collection will continue until you click the STOP button.
- Interval (s) field. Sets the frame capture frequency in seconds. The default value is 1.
- To stop capturing frames, click the STOP button.
The frame from a webcam is uploaded.
Deleting a class or images
To delete a class or uploaded images, do the following:
- Click the three-dot button
 next to the required class. Two buttons will be displayed:
- Delete—removes the selected class.
- Clear image samples—removes all images uploaded to the class.
Note
You can also delete images one by one—to do this, hover the cursor over the preview image and click on a corresponding icon.
The class or images are deleted.