
Previous page
![]()
![]() Next page
Next page
General information
Domain is a selected group of Axxon One/Axxon PSIM Servers.
Axxon One: Configuring domains
Axxon PSIM: Configuration procedure for servers, clients and remote workstations
Connecting the Axxon One domain to Axxon Datacenter
To connect the Axxon One domain to Axxon Datacenter, you must:
- Have access to the internet.
- Open ports 80 and 443.
- Allow access of incoming and outgoing traffic to the address of the cloud service if the Server has limited internet access.
- Click the
 button in the upper right corner on the Domains tab.
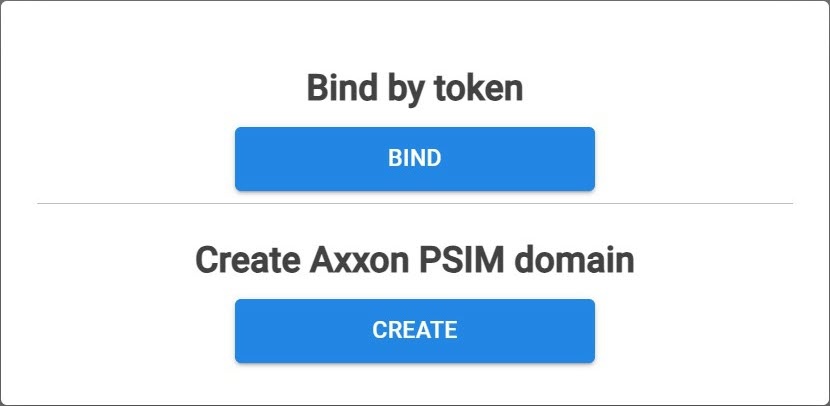
 - Click the BIND button.

- Copy the token to bind to the Axxon One domain.
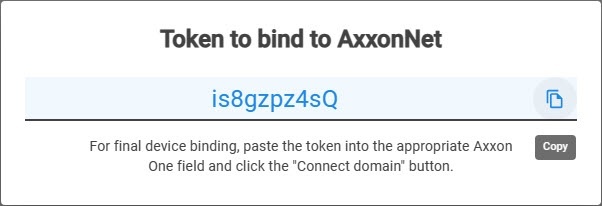
- In Axxon One, select Settings → Options → AxxonNet.

- In the Token field, paste the copied token to bind to Axxon Datacenter.
- In the Cloud URL field, enter the address of the cloud solution.
- If you connect through a proxy-server:
- From the drop-down list, select the Proxy server type:
- None
- Http
- Https
- Socks5
- Enter the IP address of the cloud service to which you want to connect.
- Enter the Username and Password to connect to the proxy-server.
- From the drop-down list, select the Proxy server type:
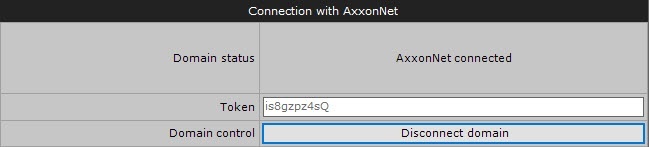
- Click the Connect domain button.
If the connection is successful, the status in Axxon One changes to AxxonNet connected. To disconnect the domain from Axxon Datacenter, click the Disconnect domain button.
If several domains with identical names are connected to Axxon Datacenter, a sequential number is added to each of the names listed on the Domains tab. If there is no connection with the Server, the domain is highlighted in red color.

Connecting the Axxon PSIM domain to Axxon Datacenter
To connect the Axxon PSIM domain to Axxon Datacenter, you must:
- Have access to the internet.
- Open ports 80 and 443.
- Allow access of incoming and outgoing traffic to the address of the cloud service if the Server has limited internet access.
- Click the
 button in the upper right corner on the Domains tab.
 - Click the CREATE button.
- Enter the Name of the Axxon PSIM domain.
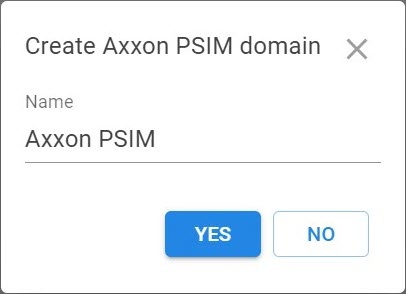
- Click the YES button. The created Axxon PSIM domain is displayed on the Domains tab.
- On the Domains tab, click the
 button next to the Axxon PSIM domain and select Generate domain token.
- Copy the token to bind to the Axxon PSIM domain.
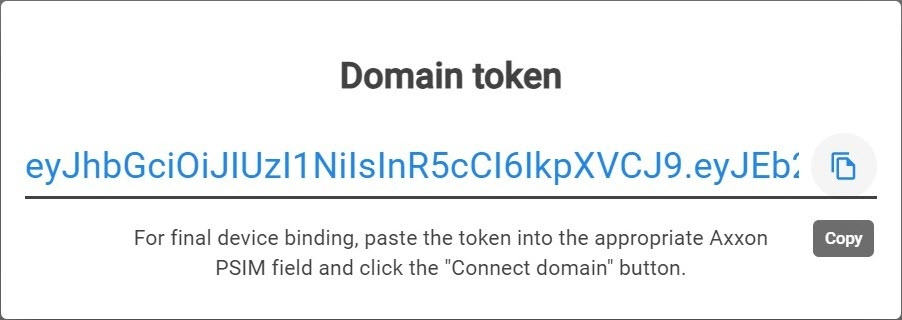
- In Axxon PSIM (see Cloud authorization for sending Axxon PSIM push notifications):
- On the Hardware tab of the system settings window, create the Cloud authorization object.
- In the Cloud server URL field, enter the address of the cloud solution.
- In the Token field, paste the copied token to bind to Axxon Datacenter.
- Click the Apply button.
Connection of the Axxon PSIM domain to Axxon Datacenter is complete.
Editing a domain name
To change a domain name in Axxon Datacenter, do the following:
- On the Domains tab, click the
 button next to the corresponding domain and select Rename.
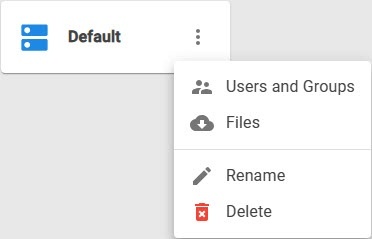
- Enter a new name and click the APPLY button. You can use up to 100 characters in the domain name. If you exceed the number of characters, the message Name too long is displayed.
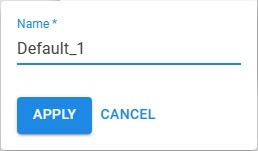
To cancel the changes, click the CANCEL button.
Editing a domain name in Axxon Datacenter is complete. The domain name changes only in Axxon Datacenter. The name remains the same in Axxon One/Axxon PSIM.
Deleting a domain
To delete a domain from Axxon Datacenter, do the following:
- On the Domains tab, click the button next to the corresponding domain and select Delete.

- In the window that opens, click the YES button.
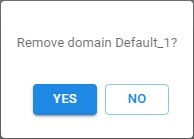
To cancel the deletion, click the NO button.
Deleting a domain is complete. The domain is deleted only from Axxon Datacenter. The domain remains in Axxon One/Axxon PSIM.