
Documentation for AxxonSoft Mobile Clients.
You can configure notifications in the Notifications section in the following way:
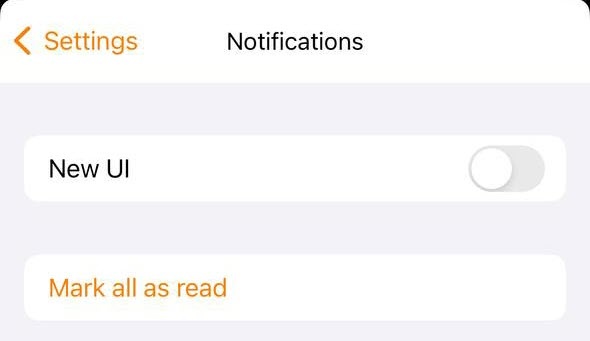
- Select the Mark all as read button if you want all push notifications coming to the mobile Client to be marked as read.
Note
If you turn on the New UI toggle, the Mark all as read button is hidden.
- To ensure the operation of push notifications, perform the following actions in the direct order:
- Beforehand:
- For the Axxon One Server:
- connect the Server to AxxonNet (see Configuring a domain in AxxonNet).
- to send push notifications automatically, you must configure the corresponding macro (see Push notification).
- To receive push notifications from the Axxon PSIM Server, you must activate and configure receiving push notifications in Axxon PSIM (see Configuring the event filter for the Web server 2.0 module).
- For the Axxon One Server:
Connect to the required Server (in Axxon One—only via AxxonNet, in Axxon PSIM—directly (see Connecting to the Server and working with Servers in the AxxonNet iOS mobile client).
On the Server tab, select Notifications (see The Server tab in the AxxonNet iOS mobile client).
- By default, notifications are disabled. To enable, turn on the Subscribe toggle.
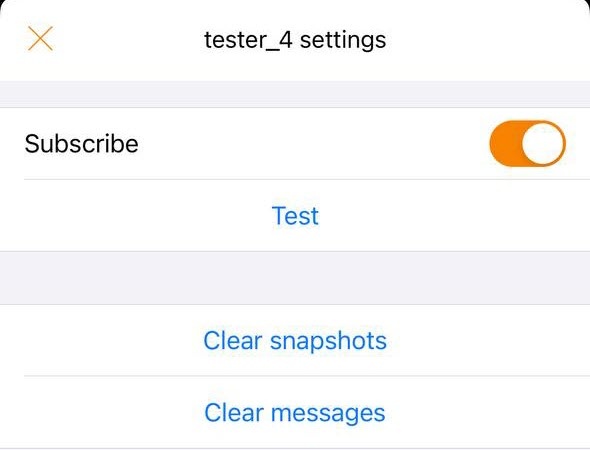
- Select Test to test push notifications.
- To view notifications, go to the Events tab (see Viewing the events list in the AxxonNet iOS mobile client).
- Select
 in the top right corner of the screen.
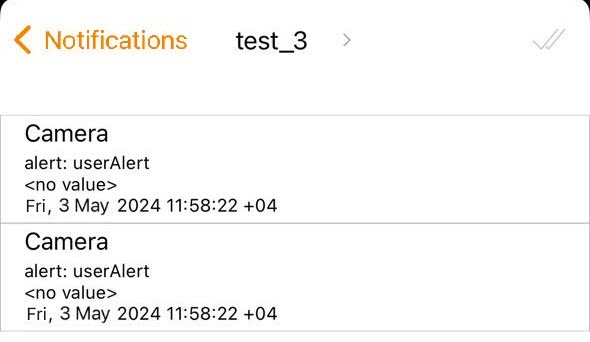
 - The Notifications window opens. To mark all notifications as read, select
 in the top right corner of the screen.
- To update the list, select
 in the bottom right corner of the screen.
 - To view detailed information about a notification, select the corresponding notification in the list. A window with information about the notification opens.
Note
If the New UI toggle is turned on in the settings, interface with notification information is different.

- Beforehand:
Configuring notifications is complete.
Overview
Content Tools