
Go to documentation repository
Documentation for Axxon One 2.0. Documentation for other versions of Axxon One is available too.
Previous page
![]()
![]() Next page
Next page
On the page:
General information
The Backup and restore utility is used to:
- revert to the original server configuration (see Reverting to the original server configuration),
- revert to the original domain configuration (see Reverting to the original domain configuration),
- back up the configuration (see Creating a configuration backup),
- restore the configuration backup (see Restoring the configuration backup),
- rename the local server (see Renaming the local server),
- migrate a configuration from one operating system to another (see Migrating a configuration from one operating system to another).
Attention!
The Backup and restore utility works both with the local configuration of the selected server (cameras, archives, detectors, event sources, logging levels) and with the general configuration of the domain (users, maps, layouts, and so on).
Starting the utility
You can start the Backup and restore utility from the Start menu in Windows OS: Start → Programs → Axxon One → Utilities → Backup and restore or from the notification area Copy/Restore (see Tray Tool utility).
Note
The BackupTool.exe executable file of the Backup and restore utility is located in the <Axxon One installation folder>\AxxonSoft\Axxon One\bin\ folder.
As a result, the Back up and restore configuration tool window opens:
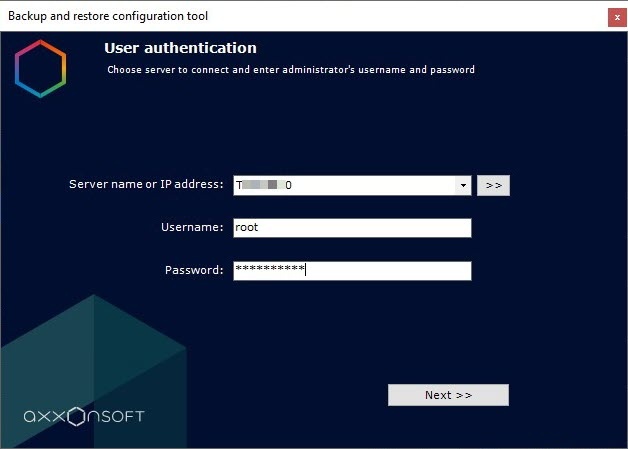
- In the Server name or IP address field, select one of the domain servers from the drop-down list.
- In the Username field, enter the username of the server user.
- In the Password field, enter the password of the server user.
- Click the Next >> button. The user authentication process starts:
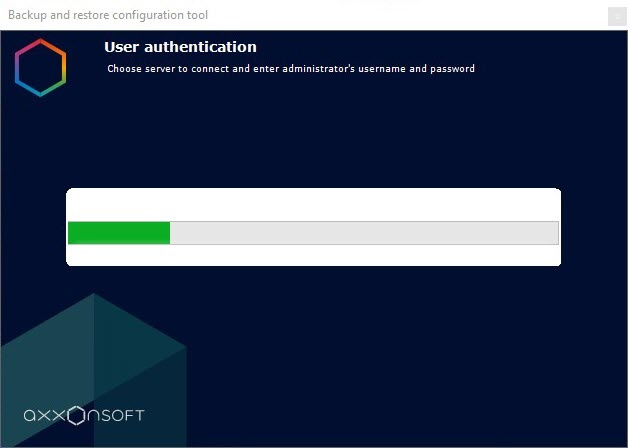
After the user authentication process is complete, the main page of the Back up and restore configuration tool window opens:
Start of the Back up and restore configuration tool utility is complete.
Stopping the utility
To stop the Back up and restore configuration tool utility, click the ![]() button.
button.
Reverting to the original server configuration
If you make any change to the local server configuration (create/delete any objects, change cameras binding to archives, change settings of any objects), a revision for backup is created.
To revert the server configuration to one of the backup revisions, do the following:
- Start the Backup and restore utility (see Starting the utility).
- Select Revert.
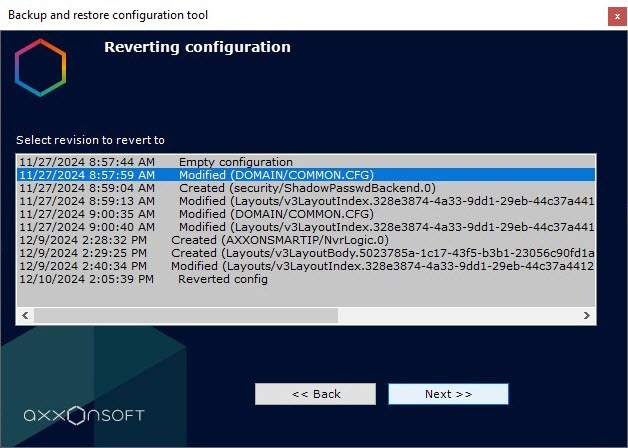
- Click the Next >> button. A window opens. This window contains a list of available revisions for restoring the server configuration with the time they were created and a description of what exactly was changed:
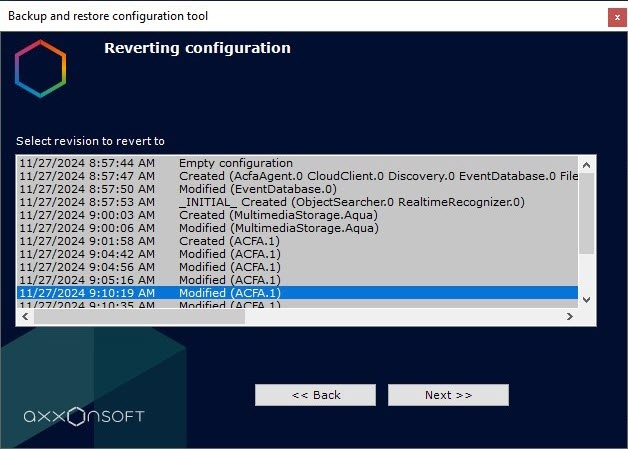
- Select a revision to restore the server from the list.
Note
- If you make several changes to the server configuration, but click the Apply
 button once, only one revision is created in the list to restore the configuration.
 - The Empty configuration position corresponds to the initial configuration.
- If you make several changes to the server configuration, but click the Apply
- Click the Next >> button. The process of reverting the server configuration before the selected revision starts:
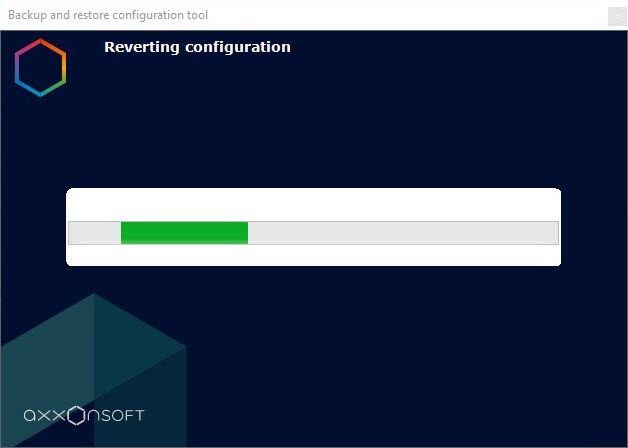
When the process of reverting the server configuration is complete, a window is displayed with a message that the operation was successful:
- Click the Finish button.
Reverting the server configuration to the selected revision is complete.
Reverting to the original domain configuration
If you make any change to the general configuration of the domain (create/delete roles, users, maps, layouts, and so on), a revision for backup is created.
To revert the domain configuration to one of the backup revisions, do the following:
- Start the Backup and restore utility (see Starting the utility).
- Select Revert (SharedDB).
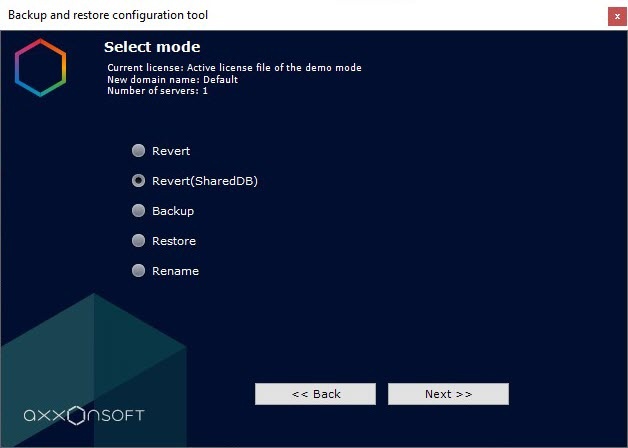
- Click the Next >> button. A window opens. This window contains a list of available revisions for restoring the domain configuration with the time they were created and a description of what exactly was changed:
- Select a revision to restore the domain from the list.
Note
- If you make several changes to the domain configuration, but click the Apply button once, only one revision is created in the list to restore the configuration.
- The Empty configuration position corresponds to the initial configuration.
- If you make several changes to the domain configuration, but click the Apply
- Click the Next >> button. The process of reverting the domain configuration before the selected revision starts:
When the process of reverting the domain configuration is complete, a window is displayed with a message that the operation was successful: - Click the Finish button.
Reverting the domain configuration to the selected revision is complete.
Creating a configuration backup
Attention!
We recommend backing up the configuration after any significant configuration change.
Backing up the configuration involves creating and saving copies of the license key, domain structure, all created objects, their parameters and connections with change history, as well as the database containing users, groups, passwords and layouts.
To back up the configuration, do the following:
- Start the Backup and restore utility (see Starting the utility).
- Select Backup.
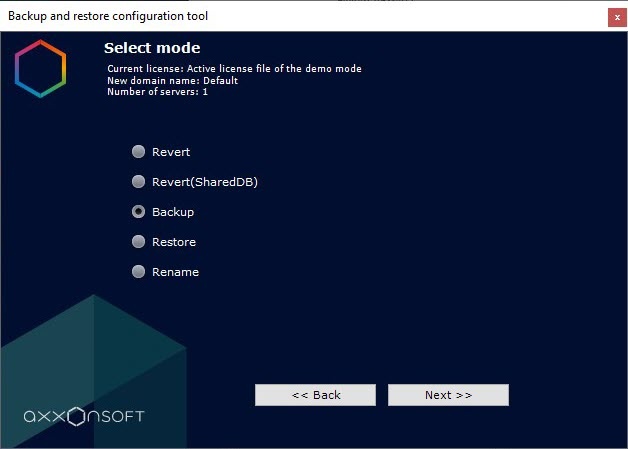
- Click the Next >> button. A window for configuring backup settings opens:
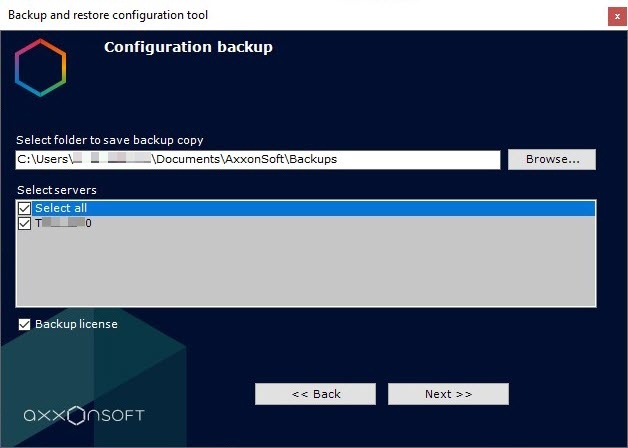
- In the Select folder to save backup copy field, enter the full path to the directory where the configuration backup will be saved. The default directory is <System disk>:\Users\<Current Windows user>\documents\AxxonSoft\Backups. To specify the path using standard Windows tools, click the Browse button.
- In the Select servers section, set the checkbox next to the name of the server to back up. You can select several servers. To select all servers, set the Select all checkbox.
- Set the Backup license checkbox to save the license key to a configuration backup. When restoring a copy of the configuration, it is possible to restore the configuration with the license key. If you don't restore the configuration with the license key, the system will work in the demo mode.
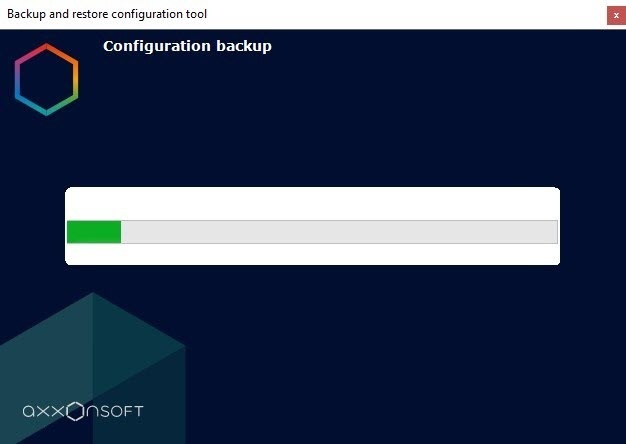
- Click the Next >> button. The configuration backup process starts:
When configuration backup is complete, a window is displayed with a message that the operation was successful:
- Click the Finish button.
Creating a configuration backup is complete.
Restoring the configuration backup
Attention!
If the backup copy doesn't match the current version of the product (including the build number), critical errors can occur in the system during the configuration restore, and the configuration restore process will be completed incorrectly. We can guarantee that your configuration will be fully recovered if:
- the backup was created on the same software version (including the build number),
- the backup was created on the same computer, if licensing without the Guardant key was used (see Licensing methods),
- the name of the current server matches the name of the server in the configuration backup (see Renaming the local server).
You can find the information about the product version and computer HID in a JSON file in the saved configuration folder.
To restore a configuration backup, do the following:
- Start the Backup and restore utility (see Starting the utility).
- Select Restore.
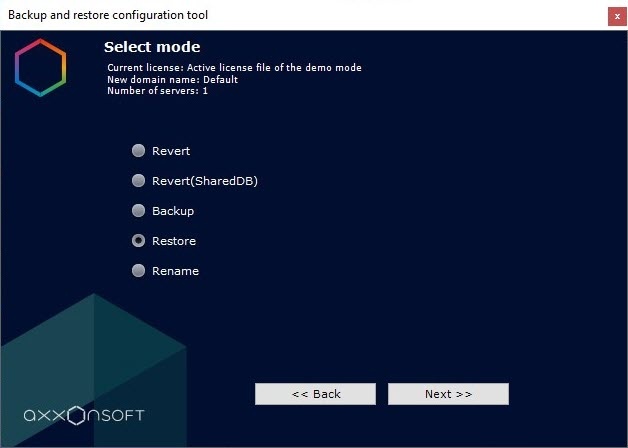
- Click the Next >> button. The configuration restore settings window opens:

- In the Select folder to save backup copy field, enter the full path to the directory where the configuration backup is saved. The default directory is <System disk>:\Users\<Current Windows user>\documents\AxxonSoft\Backups. To specify the path using standard Windows tools, click the Browse button.
- In the Select file with backup copy section, select the file with the configuration backup.
- In the Select servers section, select the required server/servers in the current domain. You can select a server in the list only if it is present in the domain and its corresponding backup is present in the open file.
- Set the Restore license checkbox to restore the license key that was stored at the time you backed up the configuration (see Creating a configuration backup). If you don't restore the license, Axxon One will work in the demo mode.
- Click the Next >> button. The process of restoring the configuration backup starts:

When configuration restore is complete, a window is displayed with a message that the operation was successful:
- Click the Finish button.
- Restart the Axxon One server (see Starting and stopping Axxon One software).
Restoring the configuration backup is complete.
Renaming the local server
Attention!
After you rename the server, the server is excluded from the domain. As a result, access to the archive will be lost, maps, automatic rules and macros will be deleted, and cameras of the renamed server will be removed from the layouts.
To rename the local server, do the following:
- Start the Backup and restore utility (see Starting the utility).
- Select Rename.
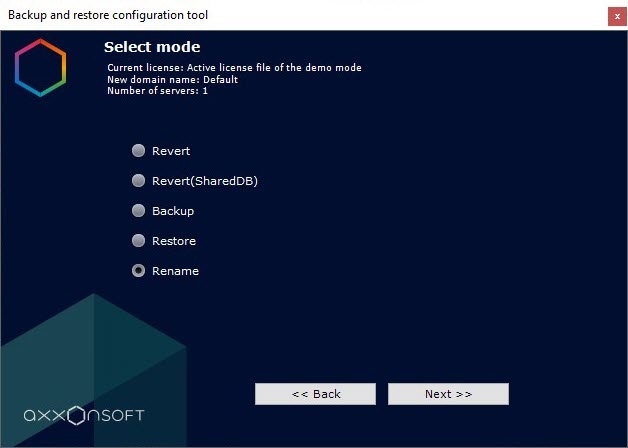
- Click the Next >> button.
- In the Enter new local server name field, enter a new name of the local server.

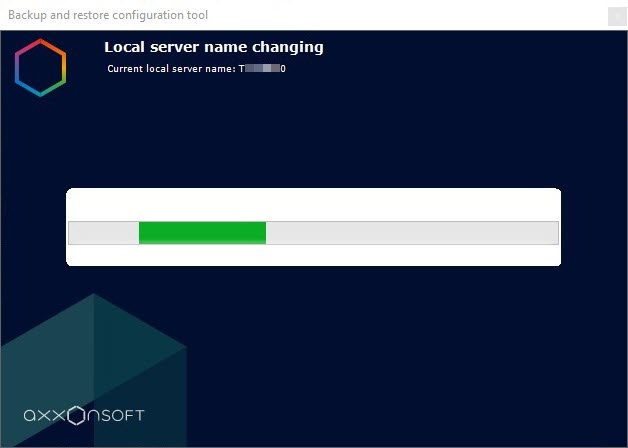
- Click the Next >> button. The process of renaming the server starts:
When the process of renaming the server is complete, a window is displayed with a message that the operation was successful: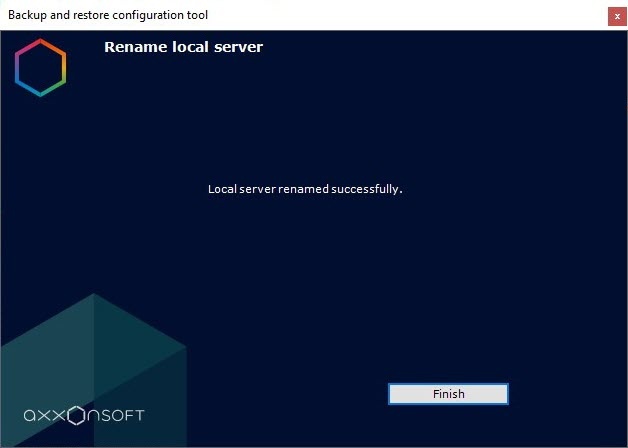
- Click the Finish button.
Renaming the local server is complete.
Migrating a configuration from one operating system to another
You can also migrate the Axxon One configuration from one operating system to another (see Migrating a configuration from one operating system to another).
Overview
Content Tools