Go to documentation repository
Page History
...
| Info | ||
|---|---|---|
| ||
| Deleting the Backup archive object the Backup audio archive object is deleted automatically. |
To configure the Backup audio archive do the following:
- Go to the settings panel for the Backup audio archive object.
- In the Number drop-downlist, select the id ID of a microphone related to the camera the archive from which is to be moved to the backup archive (1).
Left-click in the Name field. It will be automatically filled with the name of the selected microphone (2).
Info title Note. To add all Microphone objects created in the system to the list click the All button (3).
- Repeat steps 2-3 for all required microphones.
- Click the Apply button.
...
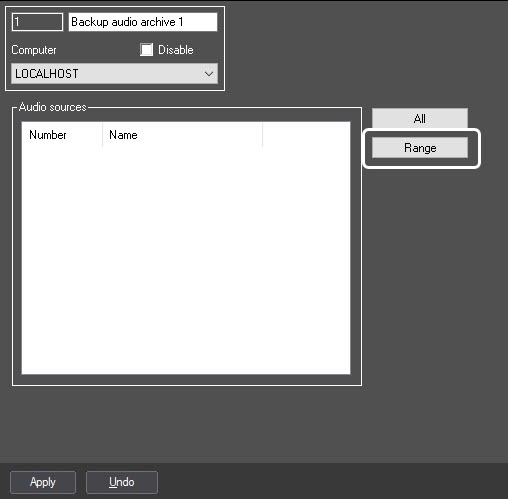
- Click the Range button. As a result, the Add/Edit window will open.
- In the left part of the list, select required Microphone objects using the left mouse button (1). Use Shift and Ctrl keys to select several objects simultaneously.
Click the -> button (2) toreplace selected objects to the right part of list (3).
Info title Note. To replace objects from the right part of the list to the left part, select microphones in this list and click the <- button (2). - Click the Apply changes and close button (4). Microphones from the right part of the list will be added in the settings panel of the Backup audio archive object.
...
Overview
Content Tools


