


Page History
...
When you select a user in the list, user properties are displayed in the right part of the Access Manager window. By default, the first user from the list is selected when you view the department.
Create a user
To create a new user:
...
- Go to the list of users of the required department.
- Select the user for whom you want to add a PIN code.
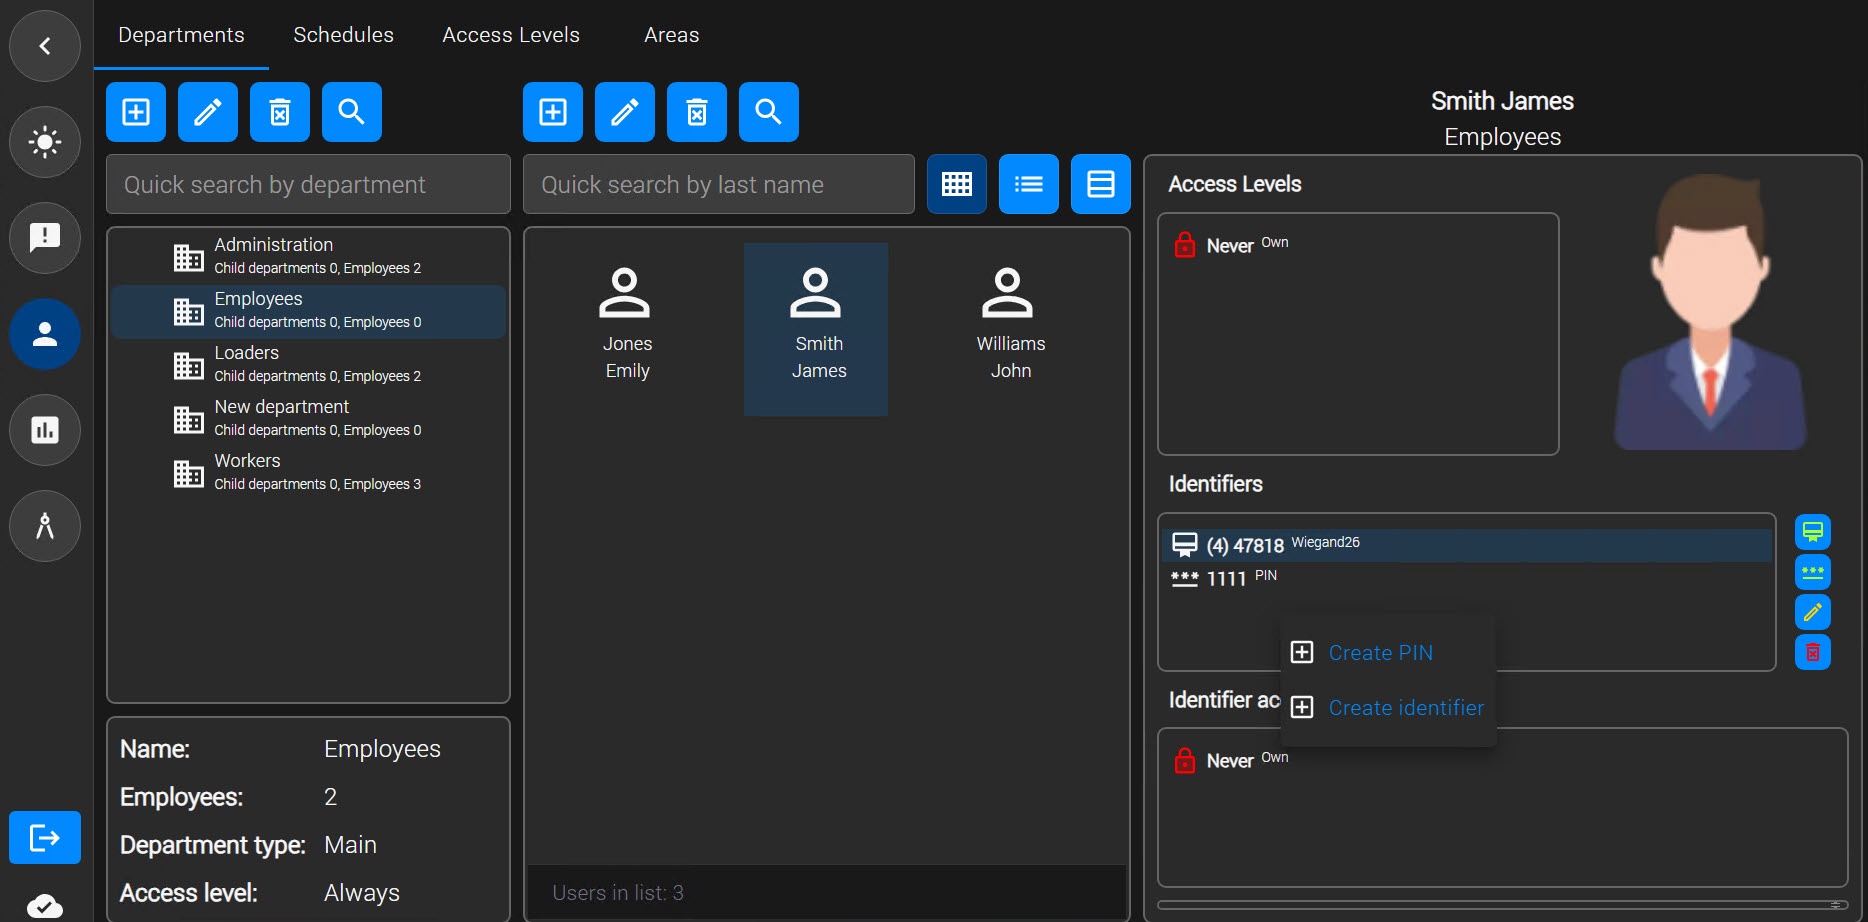
- Right-click in the Identifiers area.
- In the menu that opens, select Create PIN.
- In the window that opens, enter the required PIN code.
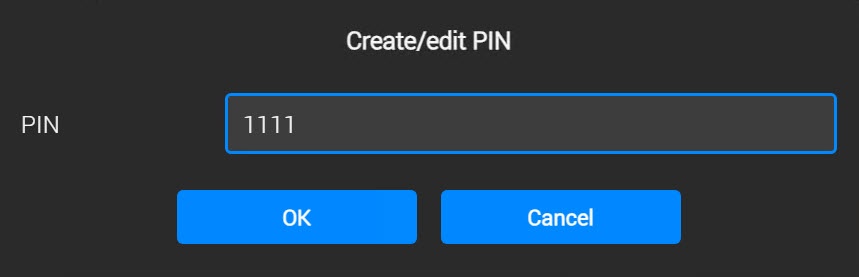
Click the OK button to save the settings.
The setup of the PIN code is complete. The PIN code is displayed in the IDs area of the user profile Identifiers area of the user profile.
Change user department
To move a user to a different department:
- Go to the list of users.
- Right-click the name of the required user.
- In the menu that opens, select Move to department.
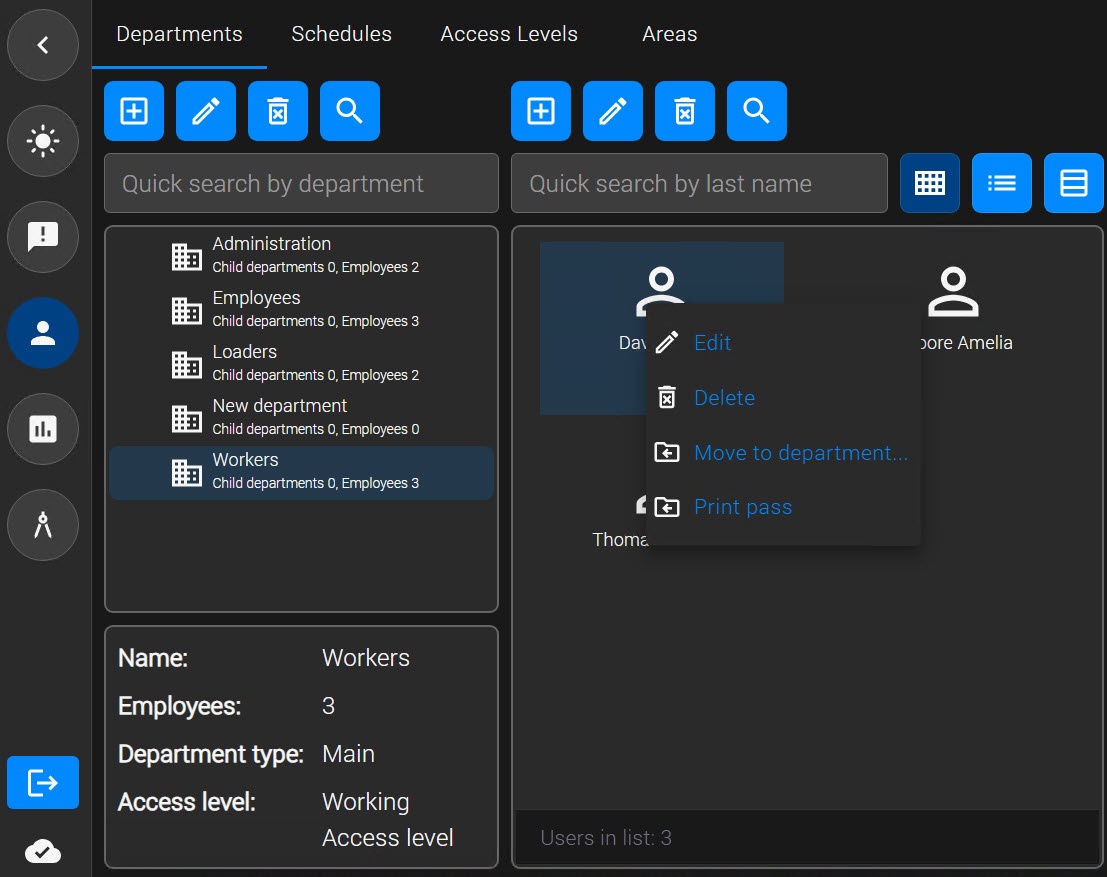
In the Search Department window that opens, select the department to which you want to move the user (see Search for a department).
As a result, the user is moved to the selected department.
Print user pass
You can create and print the user pass. Before printing, you must first create and save a pass template in the Template Editor tab. You must save the template in JSON format.
To print a pass:
- Go to the list of users.
- Right-click the name of the required user.
- In the menu that opens, select Print pass.
- In the window that opens, in the Pass template field, select a pre-configured and saved template for printing a pass.
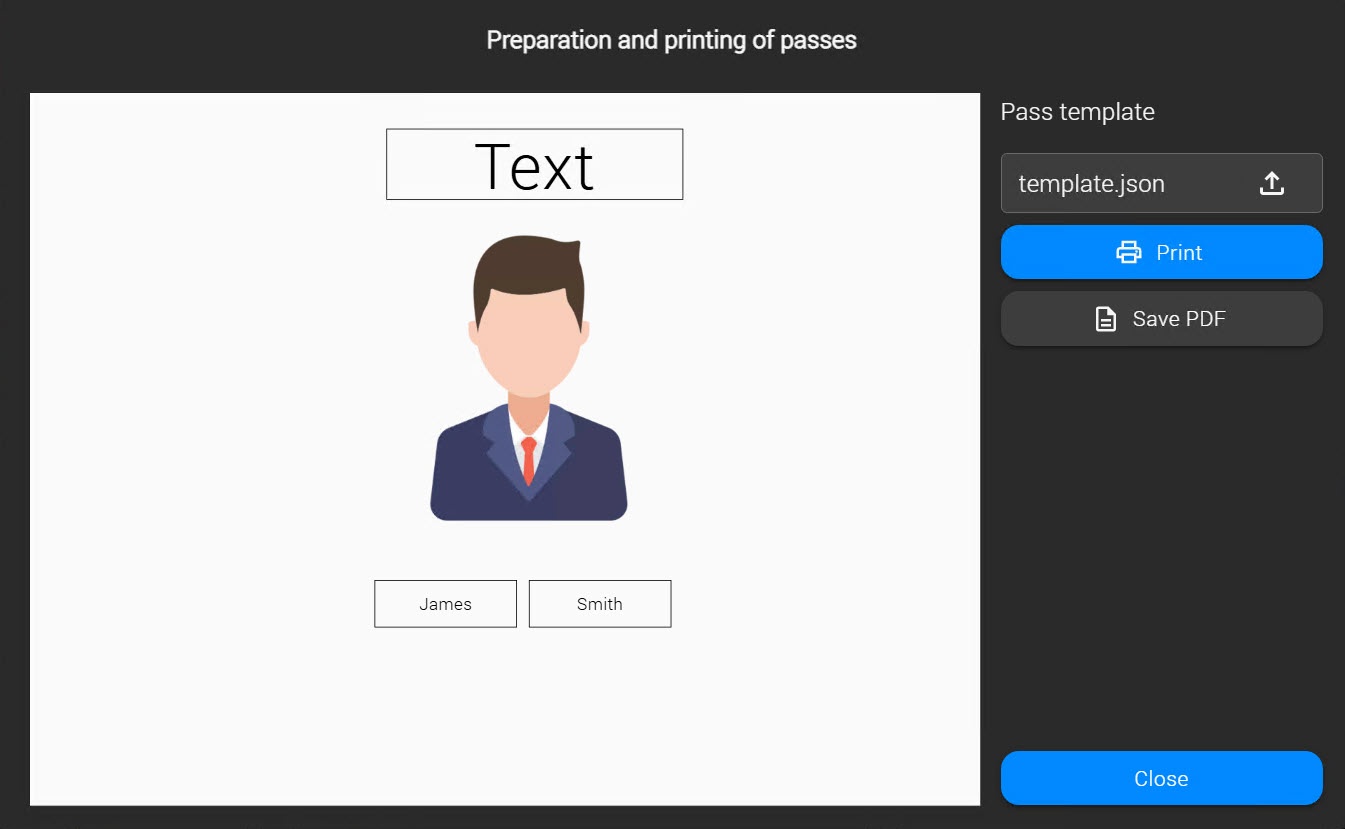
- Click the Print button to send the pass to the connected printer.
- Click the Save PDF button to save the pass as a PDF.
- Click the Close button to exit the employee pass printing mode.
Employee pass is printed.
User display mode
In the Access Manager module, you can choose how to display users. The following display types are available:
 —Large icons (default).
 —List
—List —Table.
Sort users
When you select the Table display mode, you can sort the values in the list by clicking the header of the corresponding column.
User search
In the Access Manager module, you can search for users in one of the following ways:
- Quick search by surname.
- General search.
To search for users:
- Go to a list of users.
- Click the search
 button.
 - In the window that opens, enter the required search criterion in the corresponding text field.
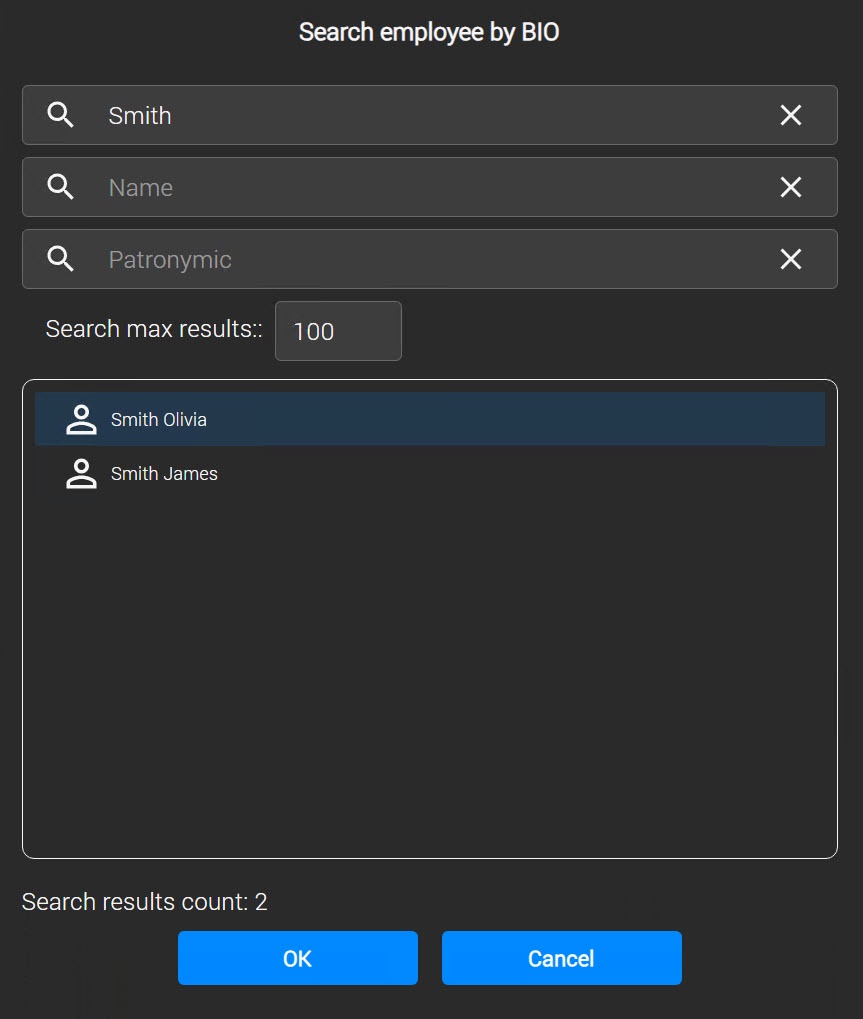
- To limit the number of users displayed in the search results, in the Search max results field, enter the required maximum number of users displayed on the screen: 100 (default).
The user search is complete. The found users are displayed in the list. To go to the profile of a found user, select the user in the search results and click the OK button.
Delete a user
To delete a user:
- Go to a list of users.
- Right-click the user you want to delete.
- In the menu that opens, select Delete.
In the window that opens, confirm the user deletion by clicking the OK button. To cancel the action, click the Cancel button.
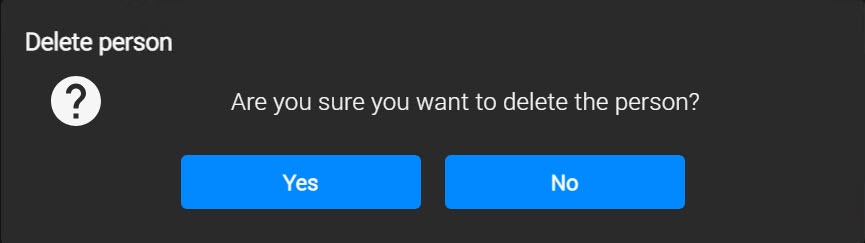
The user is deleted.