Go to documentation repository
Page History
| Section | |||||||||||||
|---|---|---|---|---|---|---|---|---|---|---|---|---|---|
|
General information
You can add cameras a video camera to the map in one of three ways:
- By using the viewing tile context menu.
- By using the map context menu.
- By dragging a video camera icon from the video camera panel to the map.
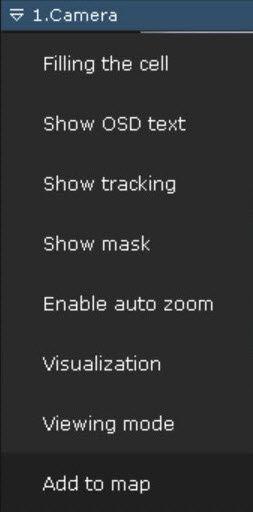
To add a camera to the map, in the context menu of the viewing tile, select Add to map.
The camera is added to the map.
via:
- drag-and-drop method;
- camera menu or object panel.
Adding a video camera using the drag-and-drop method
You can add a video camera to the map using the drag-and-drop method:
- from the Camera Search Panel (see Camera Search Panel);
- from the Object Panel (see Objects Panel).
When using this method:
- if you add a group of video cameras, all video cameras in this group will be added to the map (see Configuring video camera groups);
- the position of the video camera is pinned at the current location on the map. When you move existing video cameras on the map, their position is also pinned.
Adding a video camera through the menu
You can add a video camera to the map through the menu:
- of the video camera:
- to do this, in the layout editing mode (see Switching to layout editing mode), left-click on the short name of the video camera and select the Add to map menu item.
- to do this, in the layout editing mode (see Switching to layout editing mode), left-click on the short name of the video camera and select the Add to map menu item.
- of the object panel:
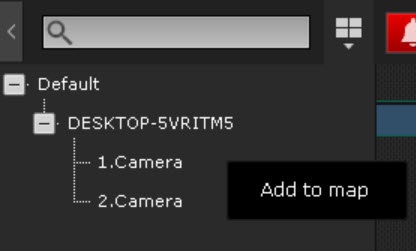
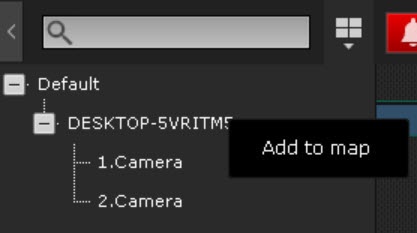
- to do this, in the layout editing mode, right-click on the camera and select the Add to map menu item.
- if it is necessary to add all cameras of a group or Server, right-click on the name of the group or Server and select the Add to map menu item.
- to do this, in the layout editing mode, right-click on the camera and select the Add to map menu item.
If the Geo location latitude, Geo location longitude and Geo location azimuth are specified for the camera (see Camera), then the video camera icon will be automatically positioned on the map in accordance with the specified coordinates.
If coordinates are not specified, the video camera icon will automatically be positioned at the center of the visible map area.
| Note | ||
|---|---|---|
| ||
| ||
| Note | ||
| ||
When a camera is added to a geo map, its icon is automatically positioned according to the camera coordinates (see The Video Camera Object). If the cameras have
|
To add a video camera by using the map context menu:
- Right-click to open the map context menu and select Add camera.
- Select the necessary video camera in the displayed list by using one of the following methods:
- If the necessary video camera is included in a group, you must first select the group (the group may also contain subgroups), then select the video camera.
- If the necessary video camera is not included in one of the groups, you must select the list of all video cameras that follows the list of groups.
The camera is added to the map.
You can also, in the video camera panel, left-click a video camera's icon. Drag it to the map.
If the camera coordinate settings are changed, it is necessary to remove the camera from the map and add it again to apply the new coordinate values.
Changing the size of video camera icons
To change the size of the video camera icons, you must use the Change icon size slider in the lower right corner of the screen in the layout editing mode.
If you use this method to transfer a group of cameras to the Map, all cameras within the group will be added.


