Go to documentation repository
Page History
For the detectors License Plate Recognition plate recognition RR, Vehicle Recognition recognition RR and License Plate Recognition plate recognition RR—Parking, you can set the following parameters in the preview window:
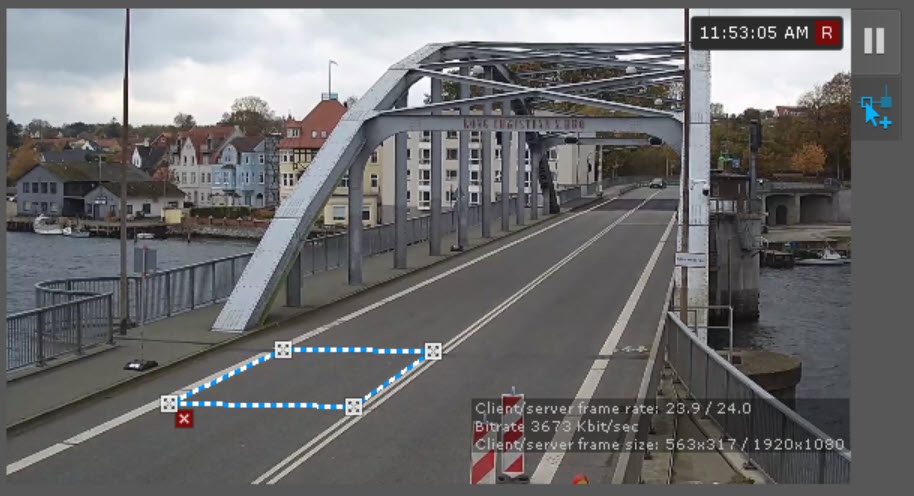
- The calibration area of the road scene. To do this
- Do the following:
- Click on the video camera preview window and select Calibration area.
The calibration area is configured by moving the
nodal points - Click on the video camera preview window and select Calibration area.
- anchor points . The calibration area is used to match the camera coordinates with the real road scene. The calibration area must also be set in cases where it is necessary to determine the vehicle speed. It is necessary to set an area that corresponds to a certain real rectangle of known dimensions in the frame. For example, road markings, a vehicle,
etc- and so on. The calibration area
should - must be configured so that it is parallel to the ground surface.
- Specify the dimensions of the real rectangle on the frame. This rectangle corresponds to the area marked in the Calibration area height (m) and Calibration area width (m) parameters.
- must be configured so that it is parallel to the ground surface.
- The detection area. To do this
- Do the following:
- Click
on - the
video - camera preview window and
select - select Detection area (polyline).
The detection area is configured by moving the
nodal points - select Detection area (polyline).
- anchor points . The detection area is used to detect vehicles or license plates and generate corresponding events.
Info title Note - For convenience of configuration, you can "freeze" the frame. Click
the - anchor points . The detection area is used to detect vehicles or license plates and generate corresponding events.
- the button. To cancel the action, click this button again.
- To hide the
virtual line- area, click the button. To cancel the action, click this button again.
- To delete
a virtual line- an area, click
the - the button.
- To save the changes, click the Apply button. To cancel the changes, click the Cancel button.
The configuration of the calibration area and detection area is complete.
Overview
Content Tools

