Go to documentation repository
Page History
...
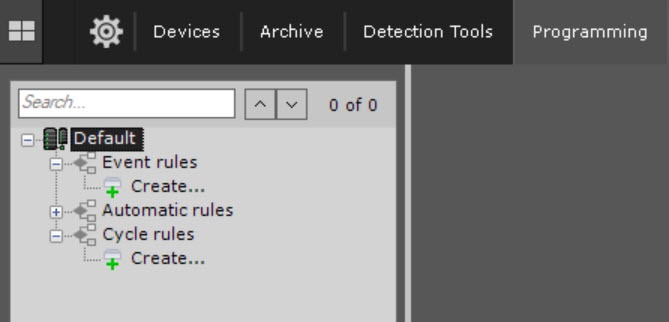
- Go to the Programming tab.
- Click the Create... button in the Event rules or Cycle rules list.
- In the Name field, enter the name of a macro. The default name is Macrocommand{sequence number}.
- From the Working mode drop-down list, select the working mode of a macro:
Working mode Event rules Cycle rules Never Can only be run manually (see Working with Dialog Board, Macros control) Disabled, can be run manually (Macros control) Always (fefaultdefault) Runs always Runs always Time schedule Runs within the selected time schedule (see Creating schedules). Can be run manually at any time Runs within the selected time schedule Note title Attention! If a macro working mode is within a time schedule (see Creating schedules), and a macro start time is outside this time schedule, a macro isn't started.
- If you need to add a macro to the control menu on a layout (see Macros control), set the Add to menu checkbox.
- For the Event rules macros, select one or more events that initiate macro start by clicking the button in the Start conditions field (see Configuring start conditions). If you leave the event filter blank, you can start this macro only manually.
Info title Note - To delete an event from the filter, click the button.
- You can run a macro for a group of cameras (see Creating a system of groups and subgroups).
- You can collapse macro start conditions and each action by clicking the header.
- Add one or more actions performed by a macro (see Examples of macros). These are actions that the system must perform after an event occurs. To add an action, click the button. To delete an action, click the button.
- Click the Apply button.
Note title Attention!
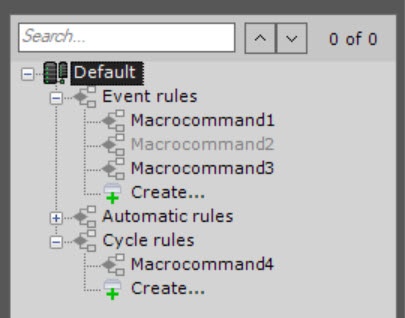
Created macros are displayed in the corresponding list. When you select the Never working mode for a macro, it is grayed out.
...
Overview
Content Tools


