Previous page Next page
AxxonData - local version of cloud service AxxonNet. AxxonData is compatible with Axxon Next version 4.4.2 or higher.
Installation
Attention!
Prior to the installation, make sure that ports 80 and 443 are free in the system.
Port 80 is used by the web server by default (see Configuring the web server)
Attention!
AxxonData is incompatible with the Failover Server and Client installation type of Axxon Next.
Perform the installation as follows:
- Download the distribution kit on the official website.
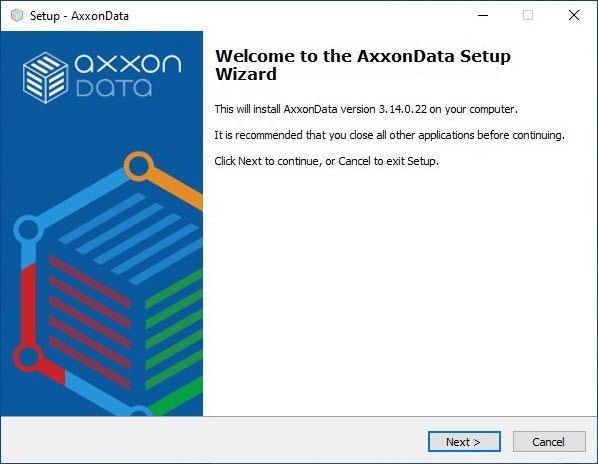
- Run the AxxonData installer.
- Choose a language.
- Click Next.
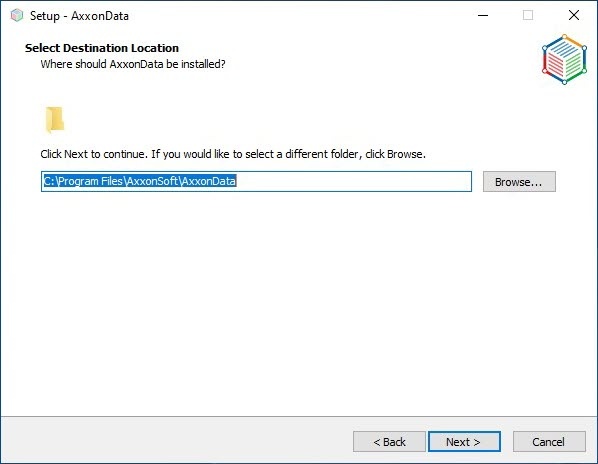
- Select the installation directory and click Next.
- Select the components to install and click Next.
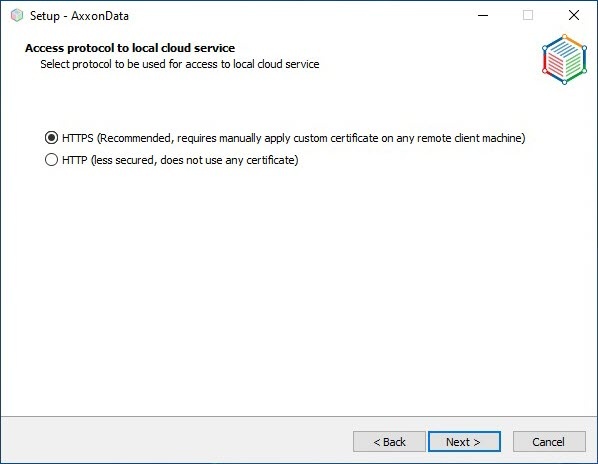
For a full installation of AxxonData, select all components. In this case, the operation will be performed by the local address. - Click Next.
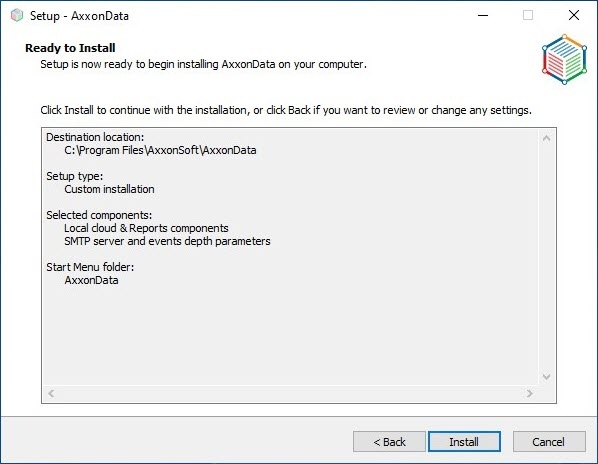
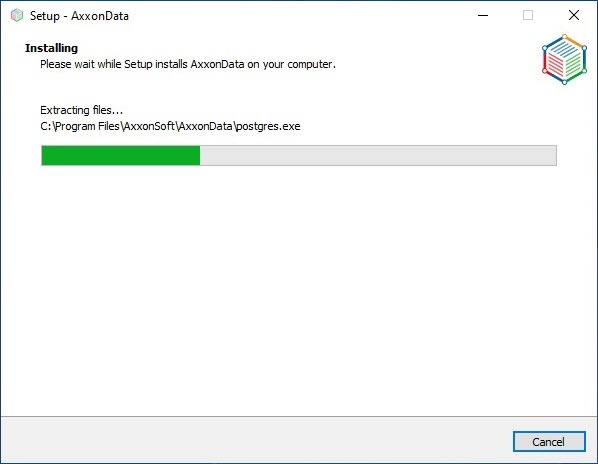
- Click Install.
The installation will start. - Click Finish.
- Restart the computer.
Installation logs will be available in the C:\Users\User\AppData\Local\Temp folder, the product logs will be available in the C:\ProgramData\AxxonSoft\AxxonData or C:\ProgramData\AxxonSoft\AxxonNet folder.
After installation, the AxxonData shortcut will be created on the desktop.
Limitations of local AxxonData Client
There are 2 predefined users in the local AxxonData Client: 1) Admin1, the password is admin1password; 2) Admin2, the password is admin2password. These users can create other users, including the administrators.
Note
Names of users are case insensitive.
- Working with exported materials is not available yet.
Configuring the local Client installation type
Perform the configuration as follows:
On all Axxon Domain Servers where AxxonData is not installed, in the hosts file (C:\Windows\System32\drivers\etc) specify the IP address of the installed local AxxonData Server: vmscloud.local.
Note
The hosts file should be writable, not read-only.
- On the computer where the Axxon Next Server is installed:
- Stop the Server.
In the infra.dictionary file located in the C:\Program Files\AxxonSoft\AxxonNext\Dictionary.local folder, in the CLOUD_URL parameter, replace the address with vmscloud.local.
Do not edit infra.dictionary using notepad.exe − it will break down the software. It is recommended to use Notepad++.
- Start the Server.
- Follow these steps for all Servers of Axxon domain.
Reports
Attention!
To ensure the correct operation of the reports, the data transfer rate with the Axxon Next Server should be at least 300 kbps.
List of supported OS
AxxonData works on Windows Server 2019 and Windows 10.

