Go to documentation repository
Documentation for Axxon One 2.0. Documentation for other versions of Axxon One is available too.
Previous page Next page
You can add cameras to the map in one of two ways:
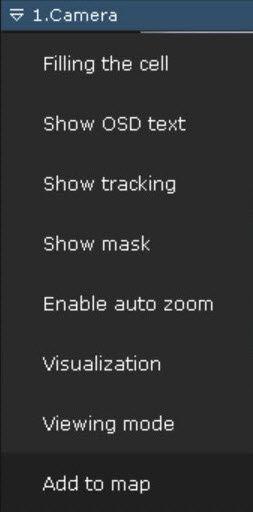
- By using the viewing tile context menu.
- By dragging a video camera icon from Camera Search Panel (see Camera Search Panel) or Object Panel (see Objects Panel) to the map.
To add a camera to the map, in the context menu of the viewing tile, select Add to map.
The camera is added to the map.
Attention!
When you add a video camera with specified coordinates to the geomap (see The Video Camera Object), the video camera icon is automatically positioned according to the coordinates.
If a video camera has a built-in GPS tracker, its location on the geomap changes automatically according to the received data (see Configuring cameras with a built-in GPS tracker).
Also, to add a video camera to the map, you can left-click a video camera's icon in the video camera search panel or object panel and drag it to the map.
If you use this method to transfer a group of cameras to the Map, all cameras within the group will be added.
To change the size of camera icons, use the Change icon size slider in the lower right corner of the screen in the layout editing mode.

