Previous page Next page
AxxonData is a local version of cloud service AxxonNet. AxxonData is compatible with Axxon One version 1.0.4 and with the Axxon Next archive product.
Minimum requirements for installing and running AxxonData
To run AxxonData, it is recommended to use a computer with a 1.0 GHz processor with two or more cores and 2 GB RAM.
Disk subsystem requirements: 1 GB to install AxxonData and at a rate of 1.5 MB = 1000 events to store the events from the detection tools in the database.
Installation
Attention!
- The local version of AxxonNet cannot be installed together with Axxon PSIM, because the CassiniService service is started during Axxon PSIM installation. This service runs on port 8081, the same port as the nginx service of the local version of AxxonNet.
- Prior to the installation, make sure that ports 80 and 443 are free in the system. Port 80 is used by the Web-Server by default (see Configuring the Web-Server).
- You can install local cloud on port 80 or port 8082 using the HTTP protocol. If port 80 is free, then local cloud will be installed on it. In this case, in order to access the cloud via web and add servers to it, it is necessary to provide access to port 80 from client devices or from the connected Axxon One Server. If port 80 is occupied, then local cloud will be installed on port 8082. In this case, it is necessary to provide public access to two ports: 8082 and 8888.
- AxxonData is incompatible with the Failover Server and Client installation type of Axxon One.
Perform the installation as follows:
- Download the distribution kit using the link.
- Run the AxxonData installer as an Administrator.
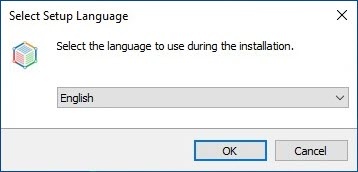
- Select the installation language and click OK.
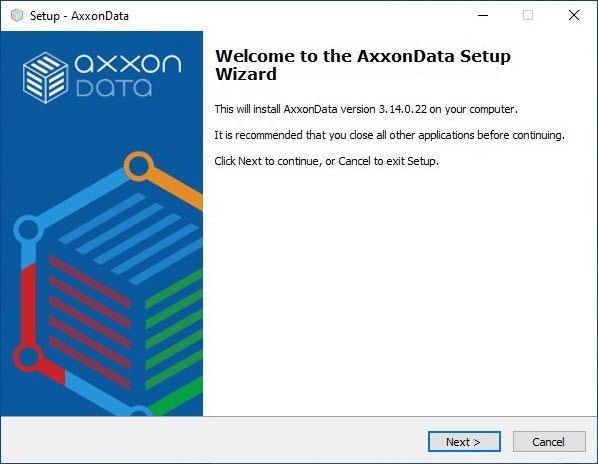
- Click Next.
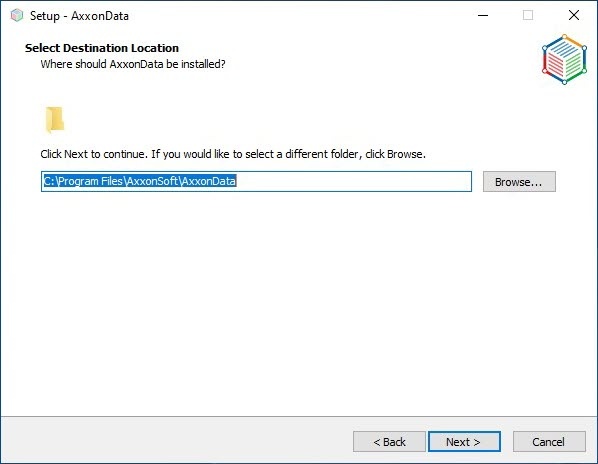
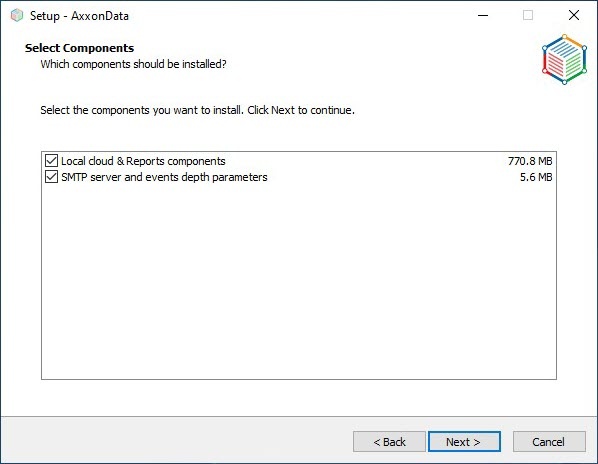
- Select the installation directory and click Next.
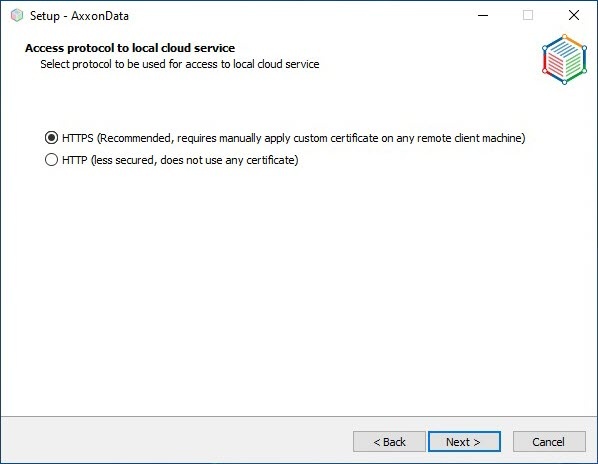
Select the access protocol for local cloud and click Next.
Attention!
- If you install AxxonData using the HTTPS access protocol, then it will not be possible to upgrade it to HTTP later. HTTP protocol is available starting from Axxon One 1.9.
- If you select HTTPS, the local version of AxxonNet will be installed in a standard way using a certificate. If you select HTTP, the local version of AxxonNet will be installed without encryption using port 80. If port 80 is occupied (for example, if the Axxon One Server is running at the time of installation), you will be prompted to use port 8082:
If you release port 80 (for example, by changing the port of the Axxon One Web-Server), then AxxonData will be installed on port 80.
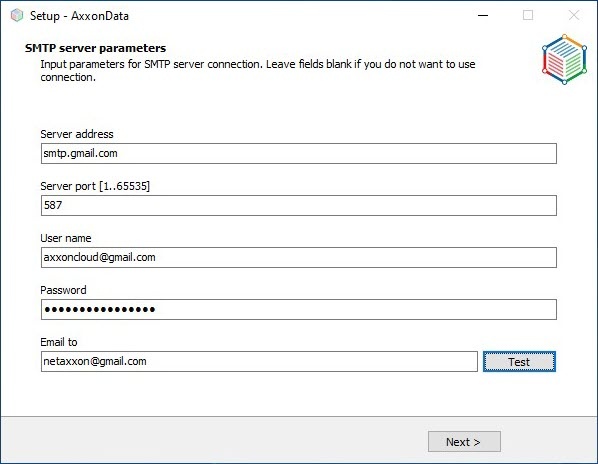
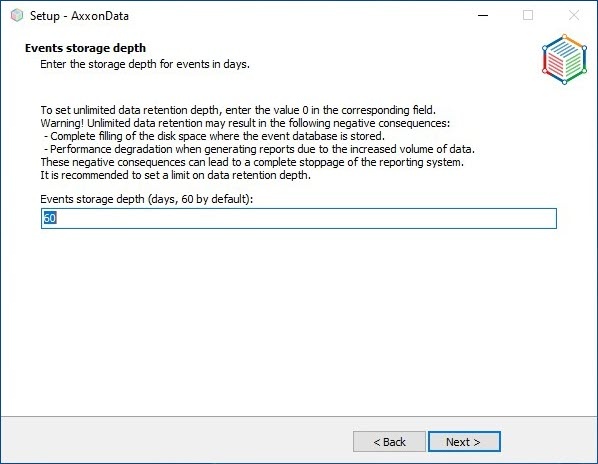
- To send email notifications, set the SMTP server settings. If you do not want to send notifications, you can skip this step. To set up an SMTP server, do the following:
- In the Server address field, enter the SMTP Server for outgoing mail.
- In the Server port field, enter the port number used by the outgoing mail Server.
- In the User name field, enter the name of the account used to send messages on the outgoing mail Server.
- In the Password field, enter the password for the account on the outgoing mail Server.
- Click Next.
- In the Server address field, enter the SMTP Server for outgoing mail.
- Click Next.
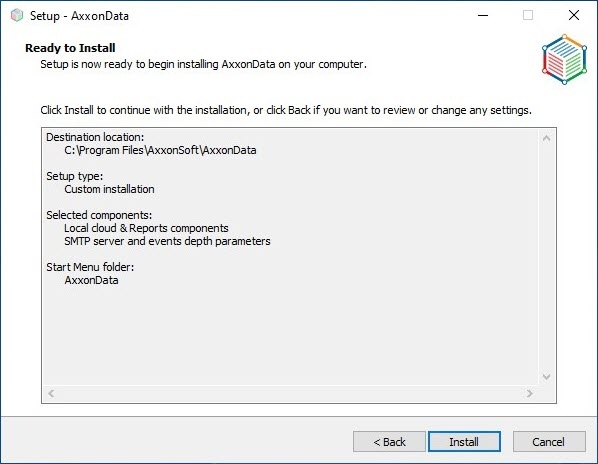
- Click Install.
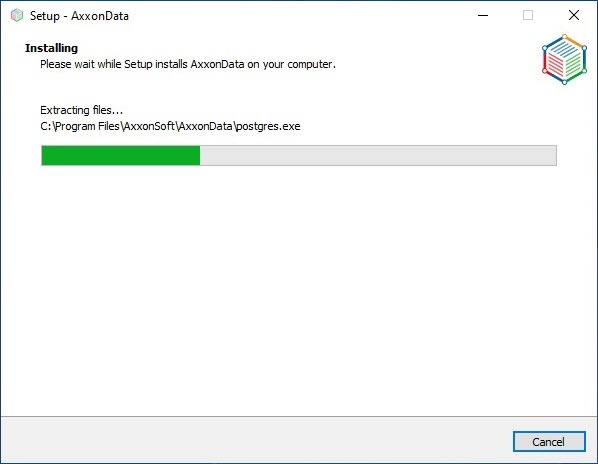
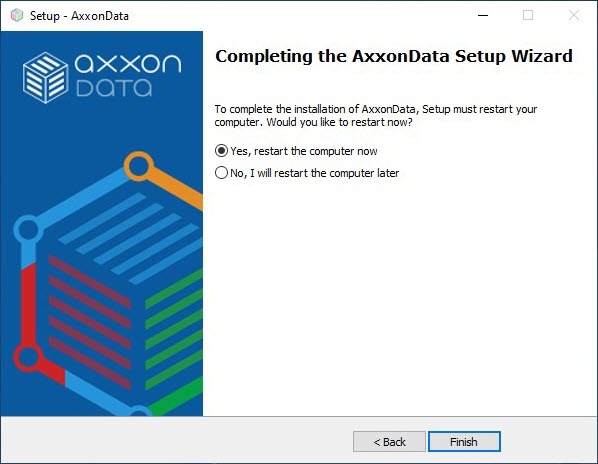
AxxonData installation will start on your computer: - Click Finish.
- Restart the computer.
After installation, the AxxonData shortcut will be created on the desktop. Installation logs will be available in the C:\Users\User\AppData\Local\Temp folder, the product logs will be available in the C:\ProgramData\AxxonSoft\AxxonData or C:\ProgramData\AxxonSoft\AxxonNet folder.
Limitations of local AxxonData Client
There are 2 predefined users in the local AxxonData Client:
- Admin1, the password is admin1password;
- Admin2, the password is admin2password.
These users can create other users, including the administrators. Names of users are case insensitive.
Configuring the local Client installation type
Perform the configuration as follows:
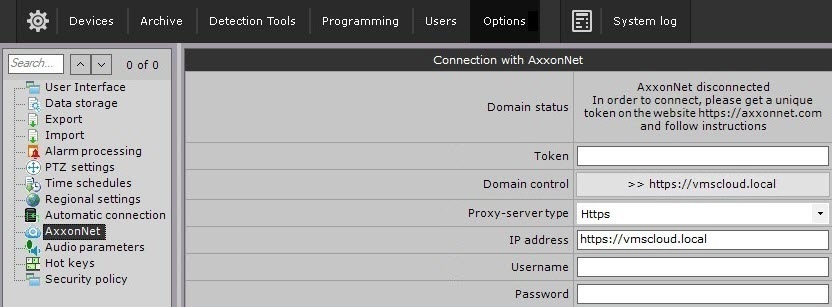
On all Axxon-domain Servers where AxxonData is not installed, in the hosts file (C:\Windows\System32\drivers\etc) specify the IP address of the installed local AxxonData Server: vmscloud.local.
Note
The hosts file should be writable, not read-only.
- On the computer where the Axxon One Server is installed:
- Stop the Server.
Do not edit infra.dictionary using notepad.exe (Notepad app in Windows OS)—it will break down the software. It is recommended to use Notepad++.
In the infra.dictionary file located in the C:\Program Files\AxxonSoft\AxxonOne\Dictionary.local folder, in the CLOUD_URL parameter, replace the address of the CLOUD_URL parameter with vmscloud.local. If AxxonData uses the HTTP protocol, then in the infra.dictionary file, replace the address of the CLOUD_URL parameter with http://vmscloud.local:80 (if installed on port 80) or http://vmscloud.local:8082 (if installed on port 8082).
Attention!
Starting from Axxon One 1.9.0.37, the cloud address must be specified with the protocol in the Client.
- Start the Server.
- Follow these steps for all Servers of Axxon-domain.
- On computers without AxxonData installed, from which you need to connect to it:
In the hosts file (located at C:\Windows\System32\drivers\etc), set the IP address of the computer on which AxxonData is installed.
Note
The hosts file should be writable, not read-only.
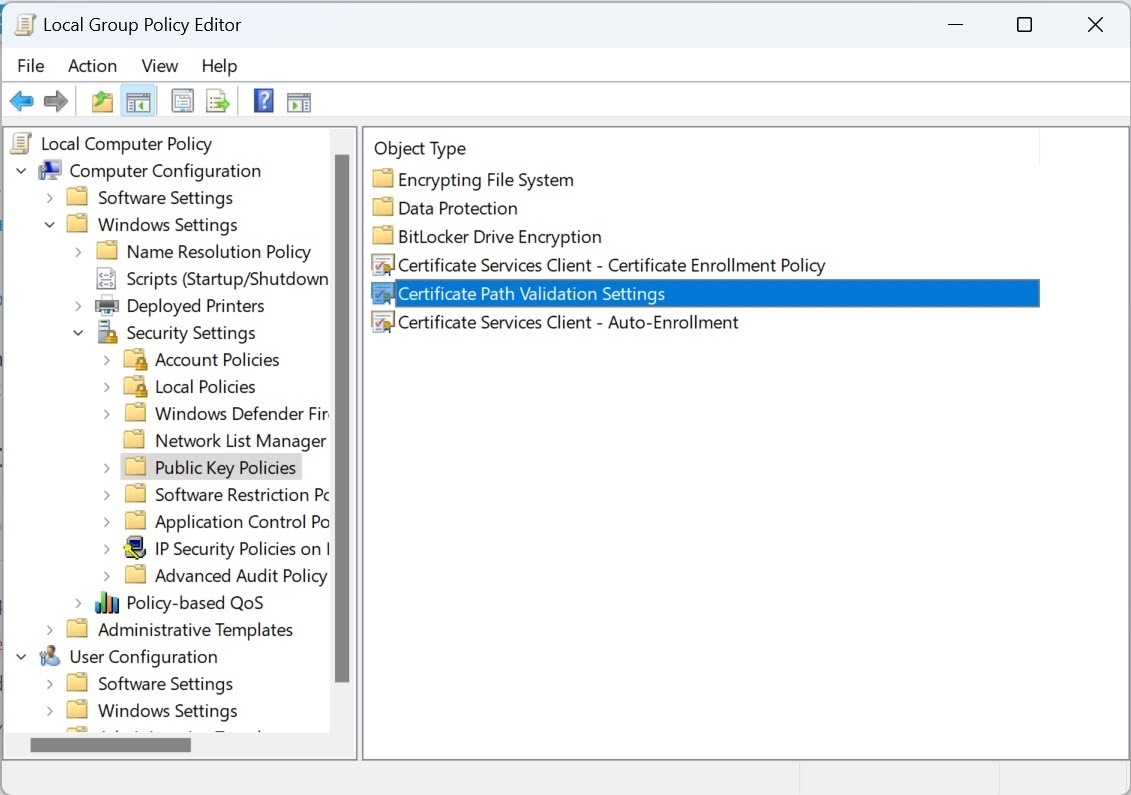
- Add the rootCA.pem certificate from the AxxonData installation directory to the trusted root certification authorities.
- Restart the computer.
Reports
When you download a scheduled AxxonData report using the link in the email, it will be downloaded only on the computer on which AxxonData is installed.
To download scheduled reports on other computer, it must be on the same local network as AxxonData or be connected to this network via VPN.
In the Reports.env file located in the C:\Program Files\AxxonSoft\AxxonData folder, it is necessary to change the value of the AXXONDATA_CLOUD_URL variable to the IP address of the computer on which AxxonData is installed.
Google Chrome and Opera browsers block downloading files via HTTP. You can download the report by right-clicking on the download link and selecting the Save link as option.
Microsoft Edge and Mozilla Firefox browsers require confirmation of the file download. You can also copy the report download link and open it in a new browser tab or window.
Attention!
To ensure the correct operation of the reports, the data transfer rate with the Axxon One Server should be at least 300 kbps.
List of supported OS
AxxonData works on Windows Server 2019 and Windows 10.

