


General information
The Access Manager module allows you to create, edit, copy, view, and delete access levels.
Create an access level
To create an access level:
- Go to the Access Levels tab.
- Click the Create button.
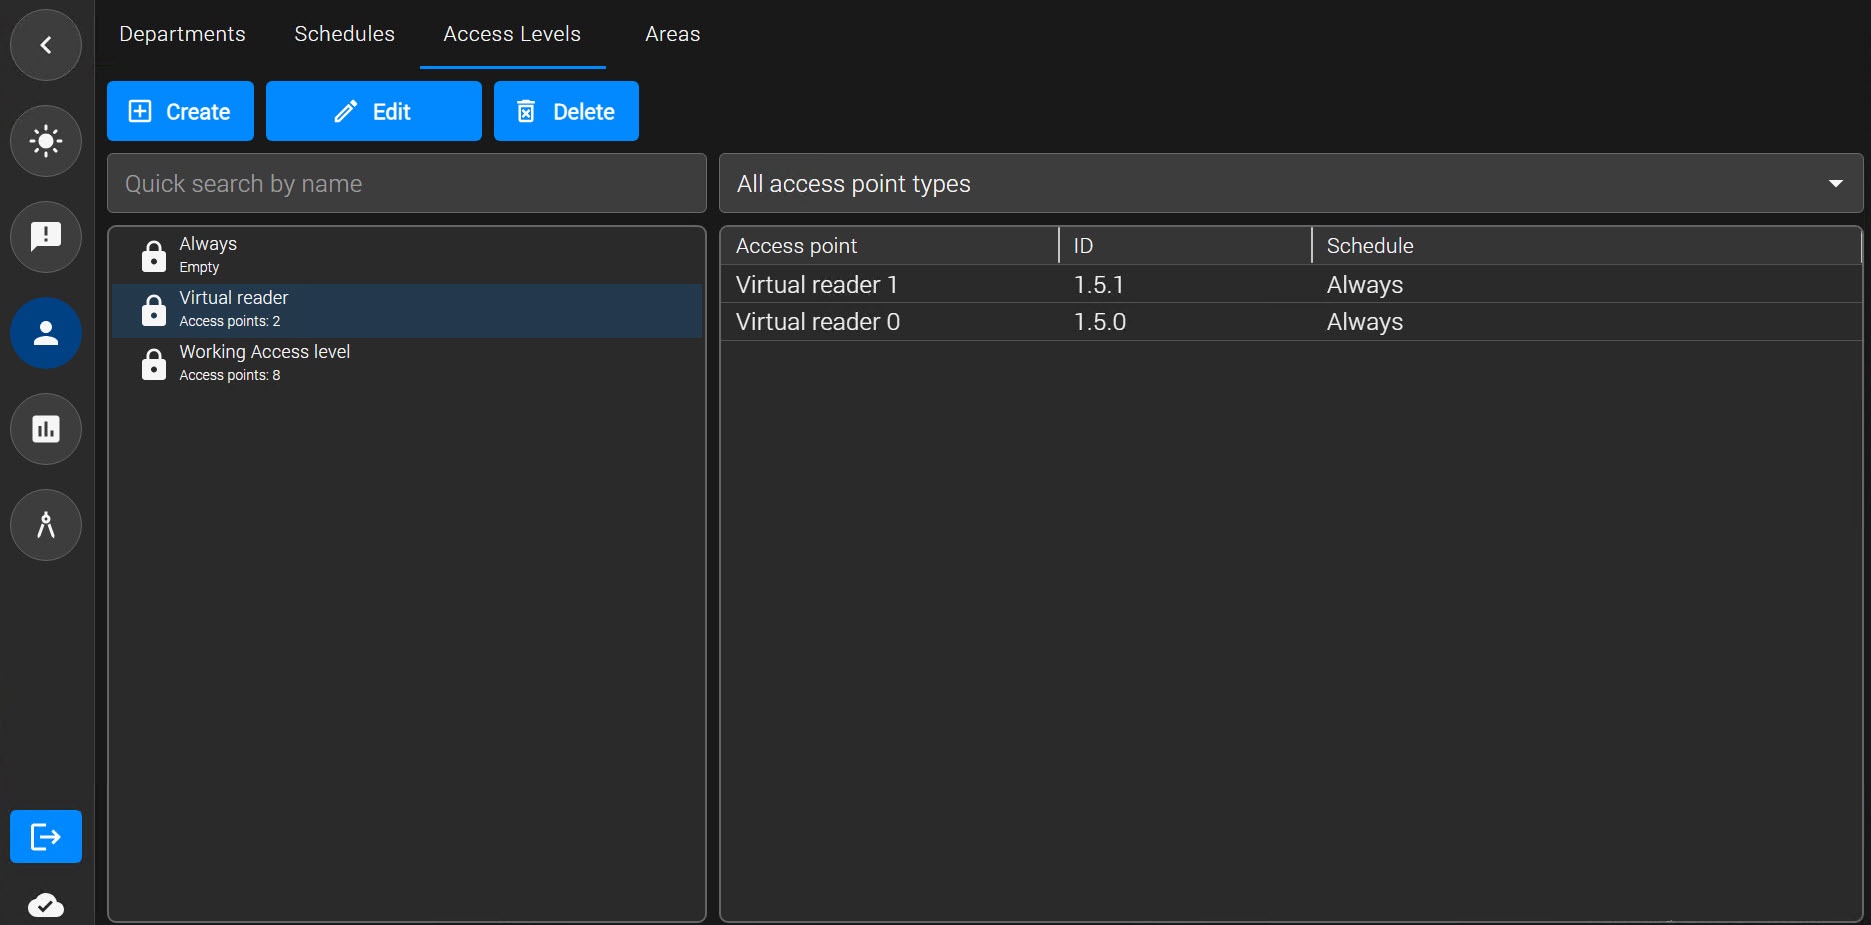
- The Access level settings window opens. In this window you can configure the access level:
- In the Name field, enter the name of the access level. The name must be unique. If an access level with this name already exists in the system, a corresponding message is displayed when you attempt to save such an access level. Such an access level won't be saved. Also, the name must not contain the following characters: < | >.
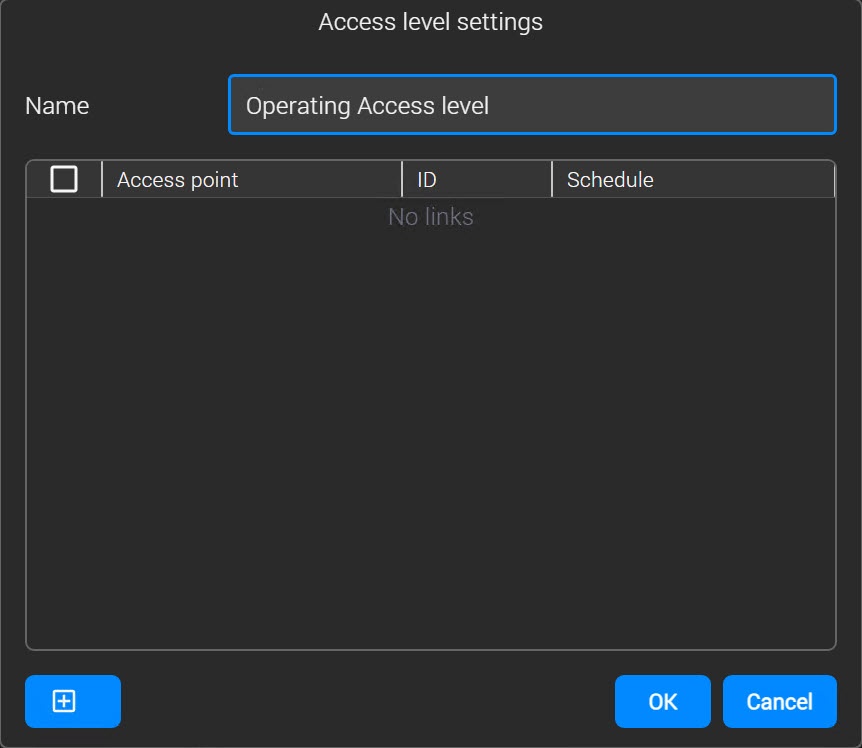
- Click the
 button in the lower left area of the window to create a connecting access point with a schedule:
- In the window that opens, from the Access point type drop-down list, select the required type of reader.
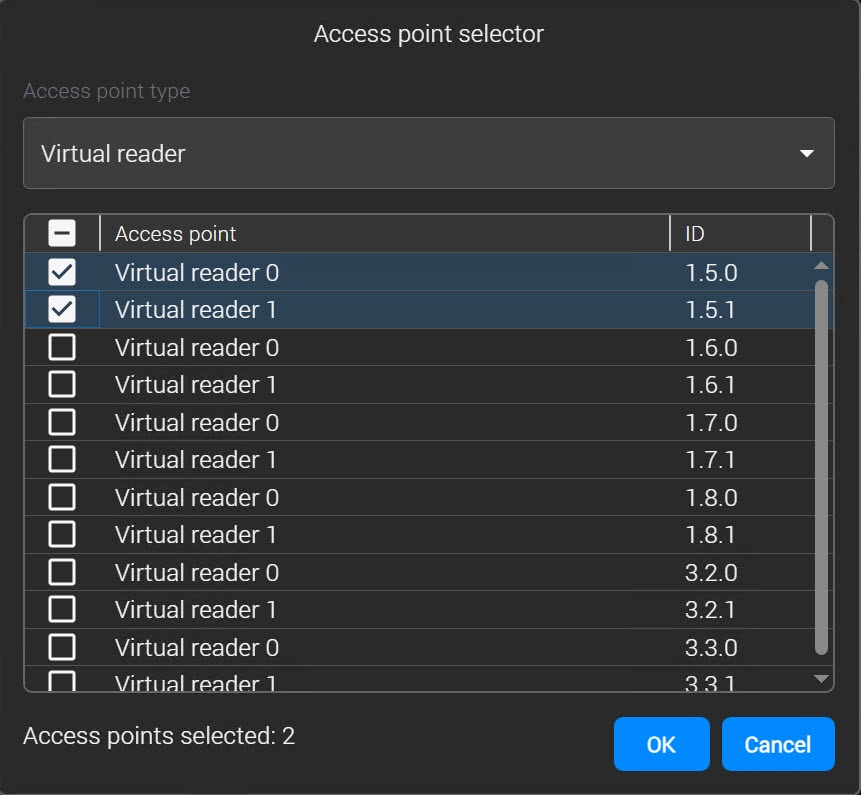
- Set the checkboxes next to the required types of access points.
- Click the OK button.
- In the window that opens, from the Access point type drop-down list, select the required type of reader.
- In the Name field, enter the name of the access level. The name must be unique. If an access level with this name already exists in the system, a corresponding message is displayed when you attempt to save such an access level. Such an access level won't be saved. Also, the name must not contain the following characters: < | >.
- You are returned to the Access level settings window, where the settings panel of the access level is displayed at the bottom.
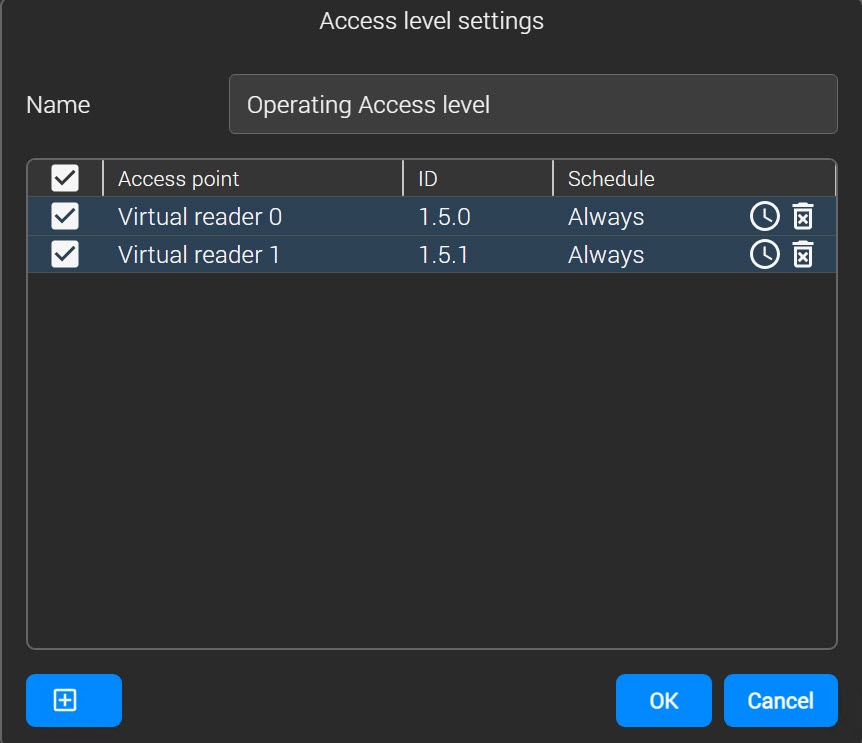
- To change the schedule for the access point, click the
 button in the Schedule column. In the window that opens, select from the list the schedule in which you want to allow users with an access level that you are configuring to pass through the selected access point.
Note
You can create and configure schedules on the Schedules tab (see The Schedules tab).
- To delete an access point, set the checkbox next to it and click the Delete
 button.
 - Click the OK button.
As a result, the created access level is displayed in the list of access levels. When you write the user configuration to a controller/terminal, only those users whose access level has at least one access point of the corresponding controller/terminal are written. For example, if a user's access level has an access point of terminal 1 but no access points of terminal 2, then this user is only written to terminal 1.
An access level is created.
Edit an access level
You can edit an access level by adding, deleting, and editing connections. To edit an access level, select the required access level in the list on the Access Levels tab and click the Edit button. The Access level settings window opens. You can work with this window in the same way as when you create an access level (see Create an access level).
Search for an access level
In the Access Manager module, you can search for an access level by name. To search for an access level:
- Go to the Access Levels tab.
- In the Quick search by name field, enter the name or part of the name of the access level. The search starts with the first character.
The search results are displayed in the list.
Delete an access level
To delete an access level:
- Go to the Access Levels tab.
- Right-click the access level that you want to delete.
- Select Delete.
The selected access level is deleted.