Go to documentation repository
Documentation for DetectorPack PSIM 1.0.1.
Previous page Next page
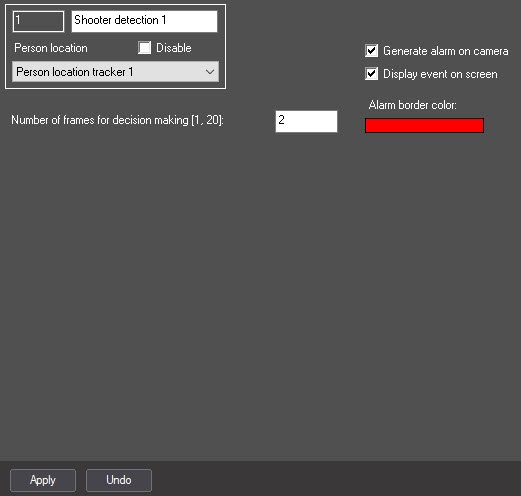
The Shooter detection object is created on the basis of the Person location tracker object on the Hardware tab of the System settings dialog window.
The Shooter detection is configured as follows:
- Go to the Shooter detection object settings panel.
- Configure the perspective of the video image:
Click the Settings button (1). As a result, the Detection settings window will open.
- Click the Stop video button (1) to capture the video image (2).
Specify at least three calibration segments in different parts of the frame (2). To create a calibration segment, click and hold the left mouse button on the video image so that you can specify the necessary length size. You can change the size of the already created segments using the anchor points. The calibration segments should be located at different angles to each other depending on the scene and the distortion of the video image.
Note
To delete the created segment, click the button (2).
Click the OK button (3) to save the settings of the perspective of the video image. The Detection settings window will close, and you will return to the Shooter detection object settings panel.
- Set the Generate alarm on camera checkbox (2) if it is also necessary to trigger an alarm on the camera by the specified pose detection.
- In the Alarm border color field (3), specify the color of the alarm border using the color palette. The default color is red. Double click the color field to open the Color palette. After selecting the border color, click the OK button to save the settings.
- In the Number of frames for decision making (1-20) field (4), enter the required amount of frames from 1 to 20 on which the human should be found in the shooter pose to trigger the corresponding event. The default value is 2.
- Click the Apply button (5).
The Shooter detection is now configured.


