
Go to documentation repository
When Axxon PSIM is installed, it is configured to operate with the Axxon PSIM MS SQL server database.
Note
If the current database is stored in MS Access format, it needs to be converted to MS SQL format before Axxon PSIM connection setup.
Note
If Turkish Windows OS language pack and English localization of Axxon PSIM are used, then the connected database must have the Latin1_General_100_CI_AS value of the Collation parameter.
In most cases, the default value of the parameter must be used. Ensure that you have the correct language settings in the operating system.
To connect the Axxon PSIM Configuration database, do the following:
- Make sure that MS SQL Server software operates.
- Start the idb.exe utility in the root of Axxon PSIM installation directory (for example, C:\Program Files (x86)\Axxon PSIM). The dialog window of the idb.exe utility opens.
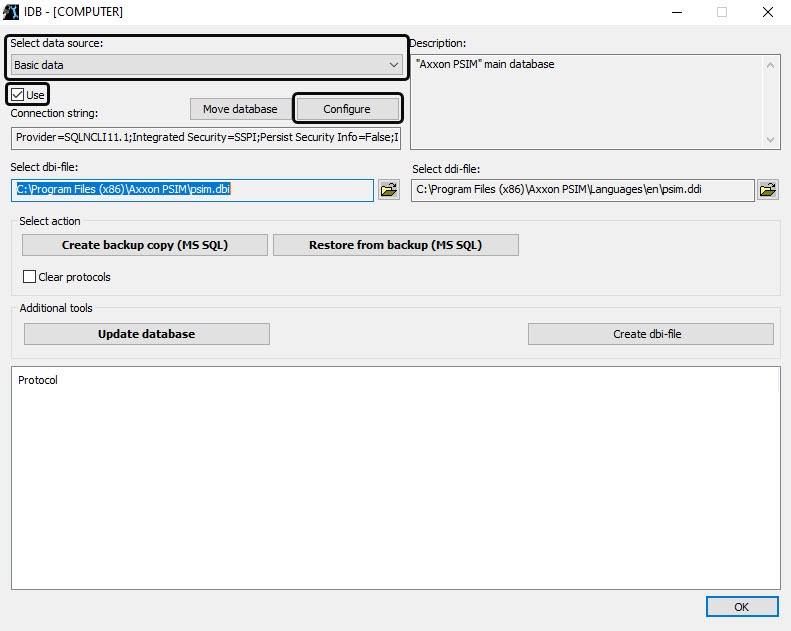
- Choose the Basic data item in the Select data source list.
- Set the Use checkbox, if not set before.
- Click the Configure button.
- The Data Link Properties dialog window opens. Go to the Provider tab in the Data Link Properties dialog window.

- Select Microsoft OLE DB Provider for SQL Server in the OLE DB Provider(s) list.
- Click the Next button.
- After you click the Next button, you are automatically redirected to the Connection tab.
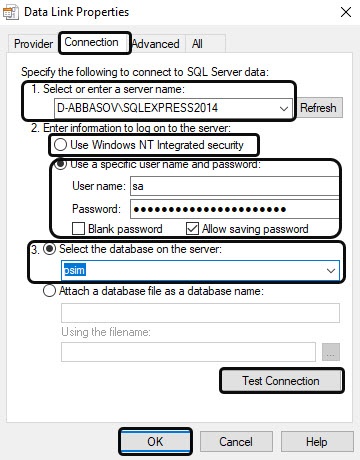
In the 1.Select or enter a server name line, select from the list or enter the name of MS SQL server that is used to store the database to which you want to connect.
Note
In case you use dynamic host configuration protocol (DHCP) for the local database, set 127.0.0.1 IP address (without using computer names and local value) in the 1.Select or enter a server name. Set 127.0.0.1 value when the static IP address is used. Otherwise, Axxon PSIM is disconnected with its local database when network cable is disconnected.
If Axxon PSIM is connected to remote database configuration by IP address (for example, 192.168.0.68\SQLEXPRESS), you cannot change and save Axxon PSIM settings when there is a network connection break. If event protocol is extracted into an individual database, use any functioning way to specify a server name.- The 2.Enter information to log on to the server group is used to specify the type and authentication parameters of the MS SQL server connection. MS SQL server authentication is performed through the user account, authorized in Windows OS, or by user name (login) and password that protect the MS SQL server connection.
The method and parameters of authentication at the MS SQL server are set during MS SQL server installation.
Different parameters must be specified with different authentication techniques for MS SQL server connection:If MS SQL server authentication is performed through the user Windows OS account, switch to the Use Windows NT Integrated security position.
Note
If conversion is performed via the remote SQL server, the computer with MS SQL server installed must show the current user account. And the user is logged on under this account at the computer that performs the database connection.- If MS SQL server authentication is performed through the user login and password, do the following:
- Switch to the Use a specific user name and password;
- Specify the user name (login) to connect to the MS SQL server in the User name field.
- If access to the MS SQL server is protected with a password, clear the Blank password checkbox and specify the database access password in the Password field.
- Set the Allow saving password checkbox.
Go to the All tab.

In the Persist Security Info field, set the True value. This is necessary to correctly save the user password.
Note
Each time you change the server connection parameters, you must set the Persist Security Info field value to True.
- Click the Test Connection button.
- If MS SQL server is successfully connected, then the Test connection succeeded message is displayed.
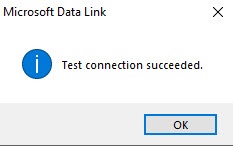
Click the OK button to close the window. - If the MS SQL server name and/or authentication parameters of the MS SQL server connection were specified incorrectly, the error message will appear.
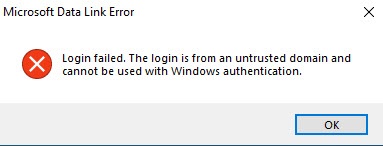
- Click the OK button to close the window. Then specify the correct password and try the MS SQL server connection again.
- Select the name of the database that you want to connect in the Select the database on the server list.
Note
You must select a database at this step. If you leave the database field blank, after you close the Data Link Properties window, the line "Database is not set in connection settings" appears in the database description window of the IDB.exe utility and the OK button to save changes is inactive.
- Click the OK button in the Data Link Properties dialog window. The window closes.
We strongly recommend updating the database structure after this. For this, click the Update database button in the idb.exe utility dialog window. If DB is not updated at this step, the update is automatically performed at Axxon PSIM start-up, however, it might be difficult to track errors in this case.
Attention!
If the Event Viewer is in the individual database (see Extracting event protocol into an individual database), then the Event Viewer database structure will be updated when updating the main database structure. So we recommend checking the connection to the Event Viewer database before updating the main database structure in order to prevent any errors.
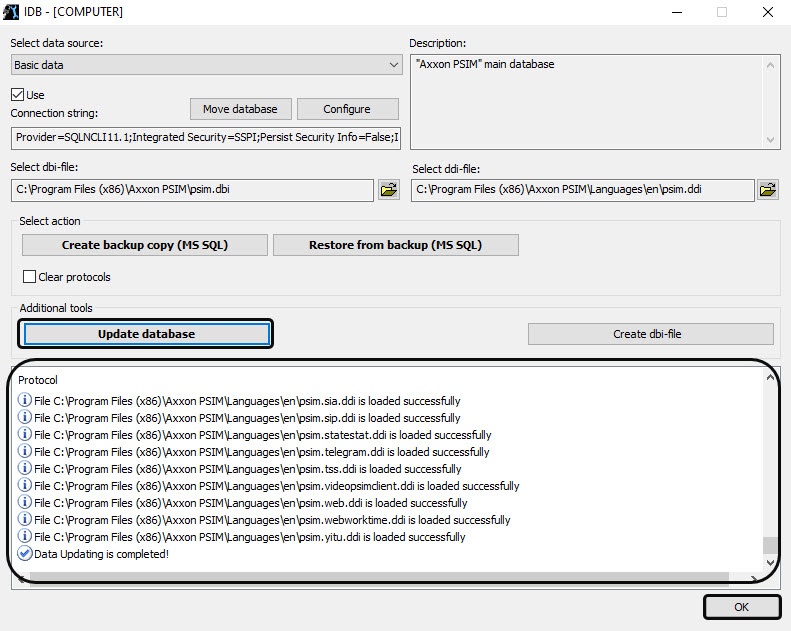
- As a result, the database structure update process starts, and the corresponding messages appear in the Protocol table.
- When the conversion process is successfully completed, the Data Updating is completed! message appears in the Protocol table of the idb.exe utility.
- Click the OK button.
Axxon PSIM database is now connected.
Overview
Content Tools